
Every show gets a page with their account, regardless of account level.
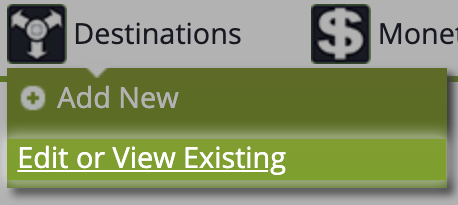
To get started setting up your page, log into your Libsyn show and hover over Destinations, and select Edit or View Existing:
Locate the Podcast Page in your list, and hit Edit.

Configure the Header
Your first options determine how the overall site is going to look, first offering an upload of the header image.
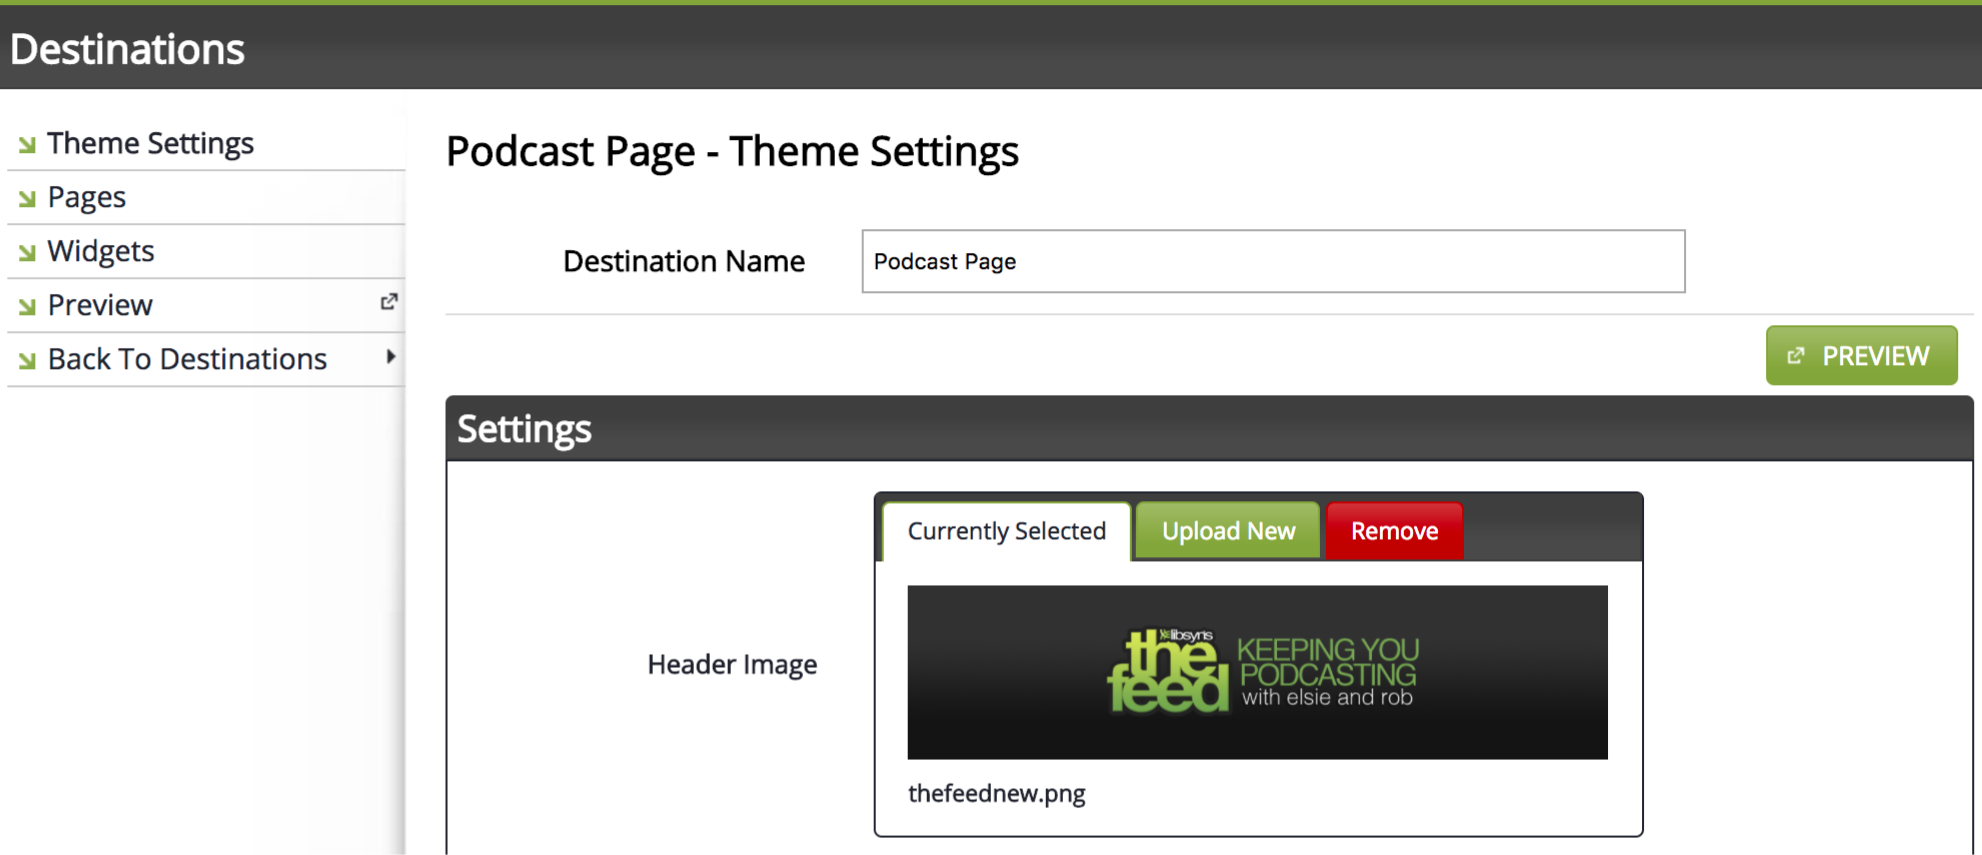
Pro Tip: The image should be 1920x480px.
Set the Colors for Your Theme
Next are your title display and theme color options.
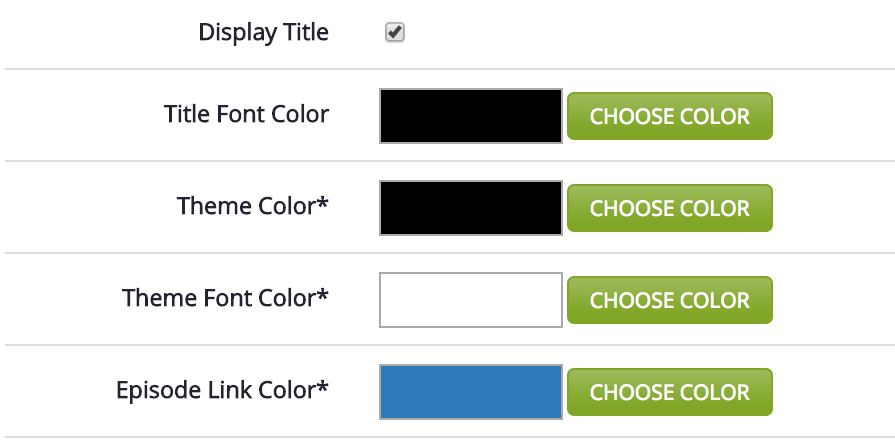
Display Title
Choosing this option will overlay the show title on top of your header image. If your image has your show title or the branding you already want, you can leave this unchecked.
Title Font Color
If you have the display title enabled, setting the title font color will set the color for the text.
Theme Color
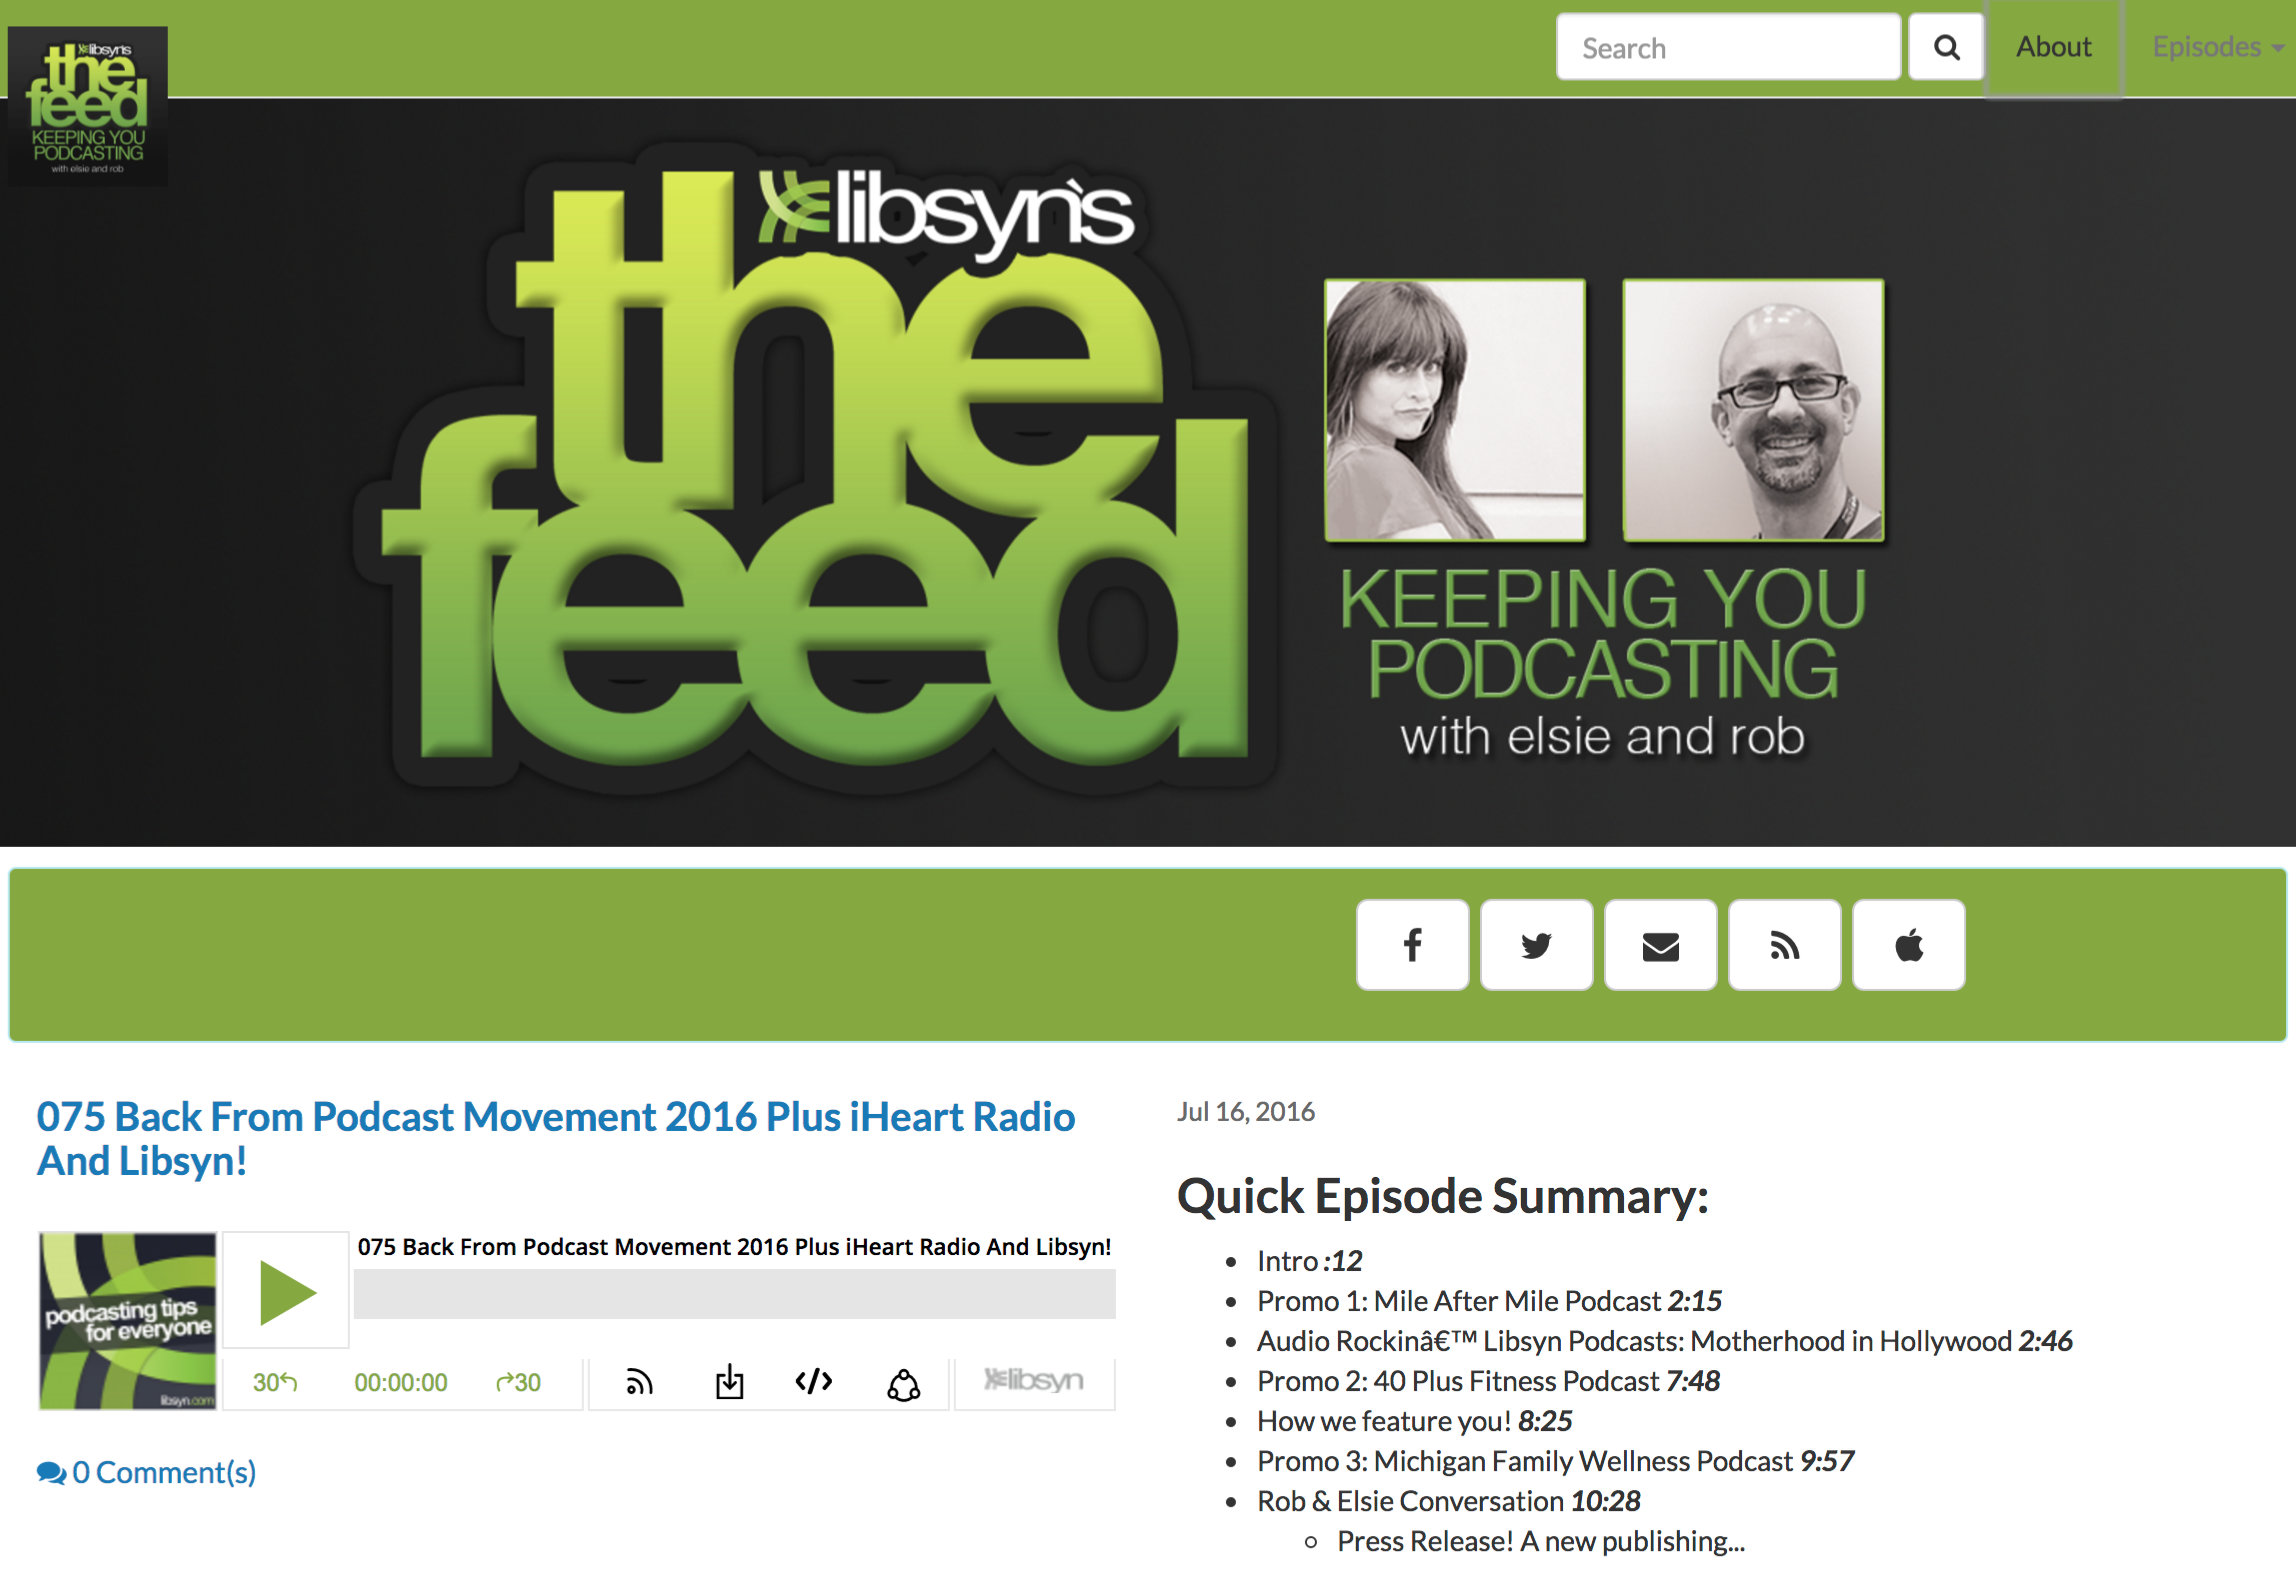
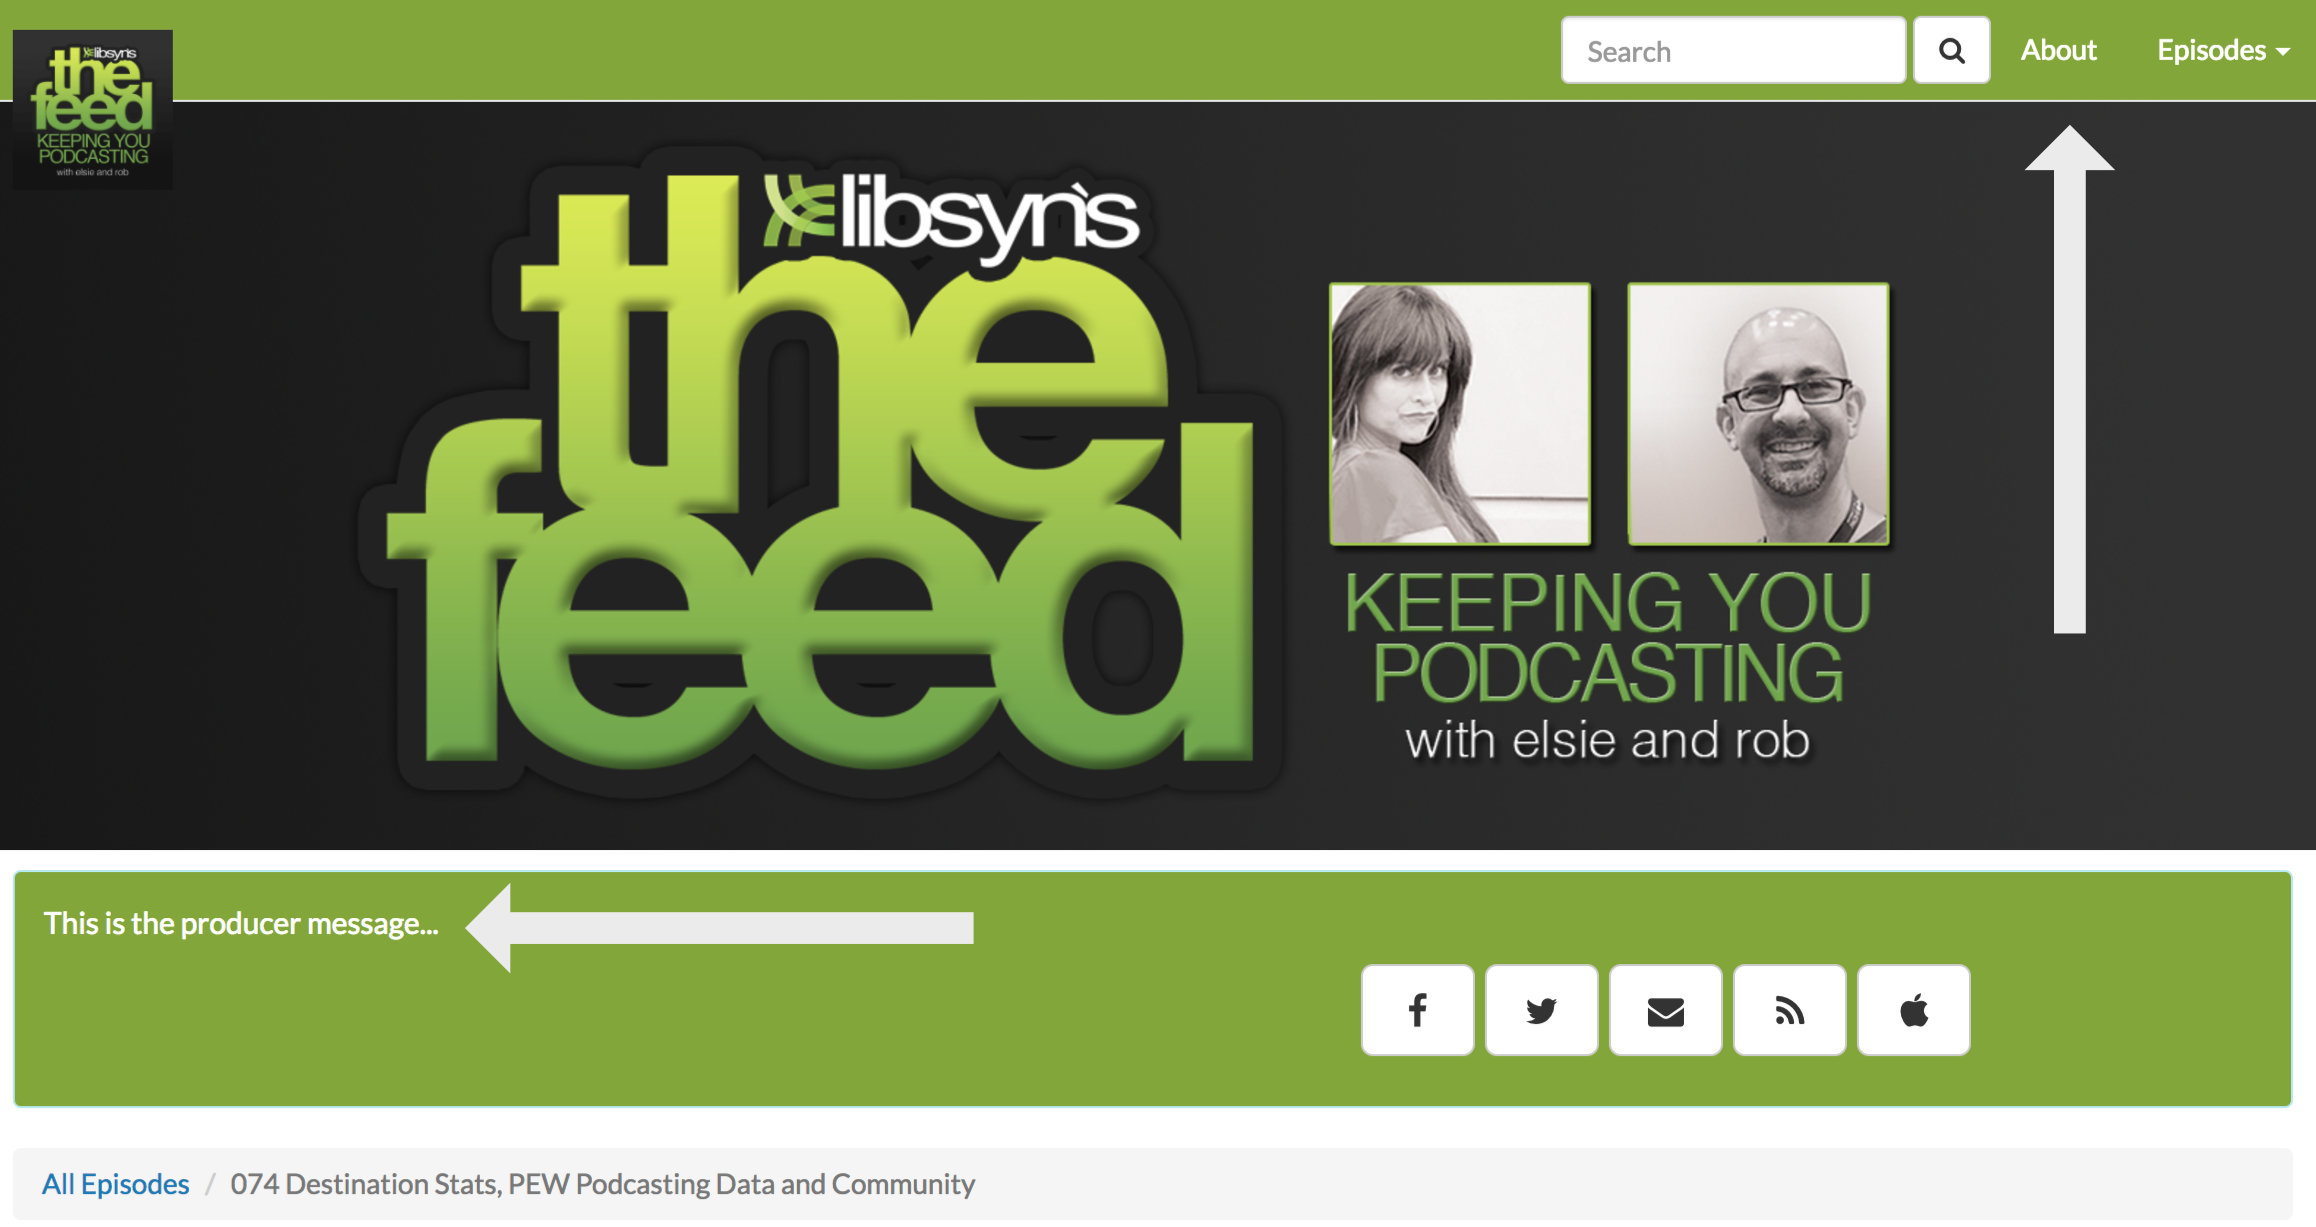
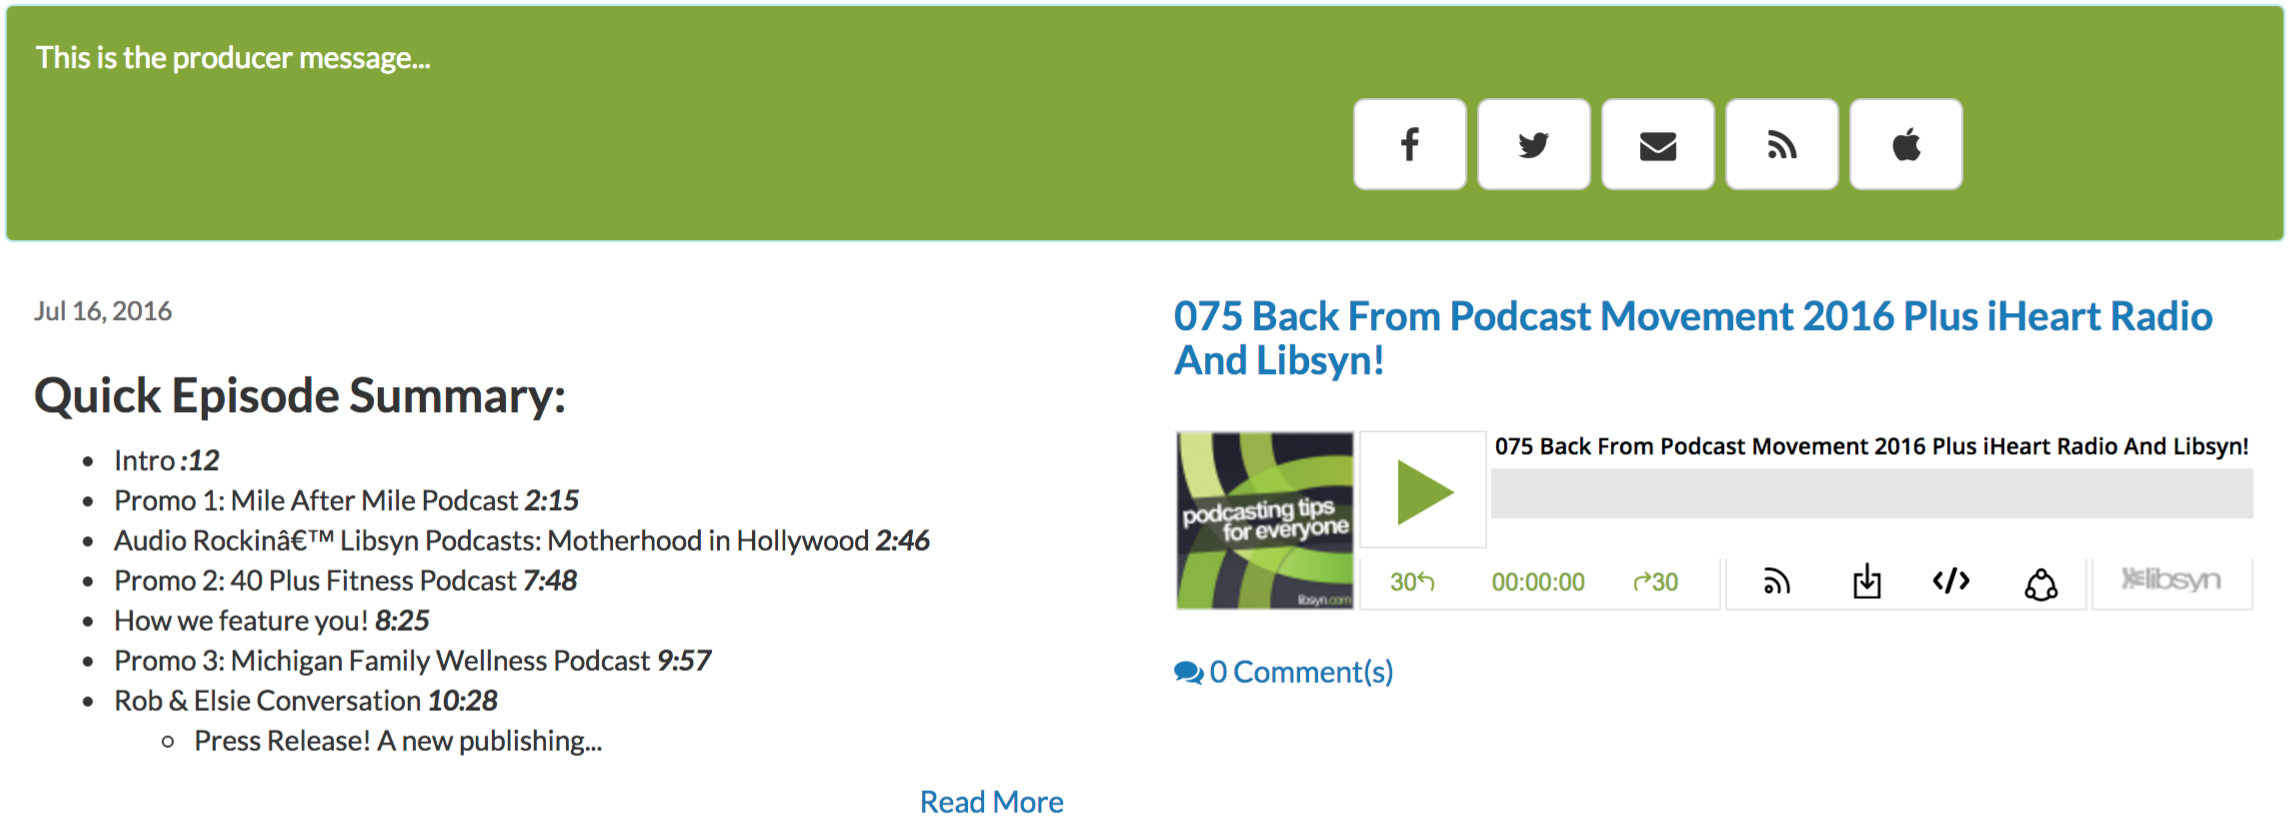
The theme color is the single color that affects the page design. For example, if the page was set with a green color for the theme, the page would look like this:
Theme Font Color
The theme font color will determine the color of the text in the main menu, as well as in the producer message. For example, if the font color is set to white (#ffffff), it might look like this:
Episode Link Color
The link color sets what the color will be for the episode title (which is a permalink to the post) and any links inside the episode description.
Configure the Player Position
The player can be configured to appear at the top or at the bottom.

Top
Setting the player to top will place the player as follows:
On the Home Page - The player will appear to the left of the episode summary if no widgets are enabled on the page (see below for widget details) and on the top of the summary if widgets are enabled.
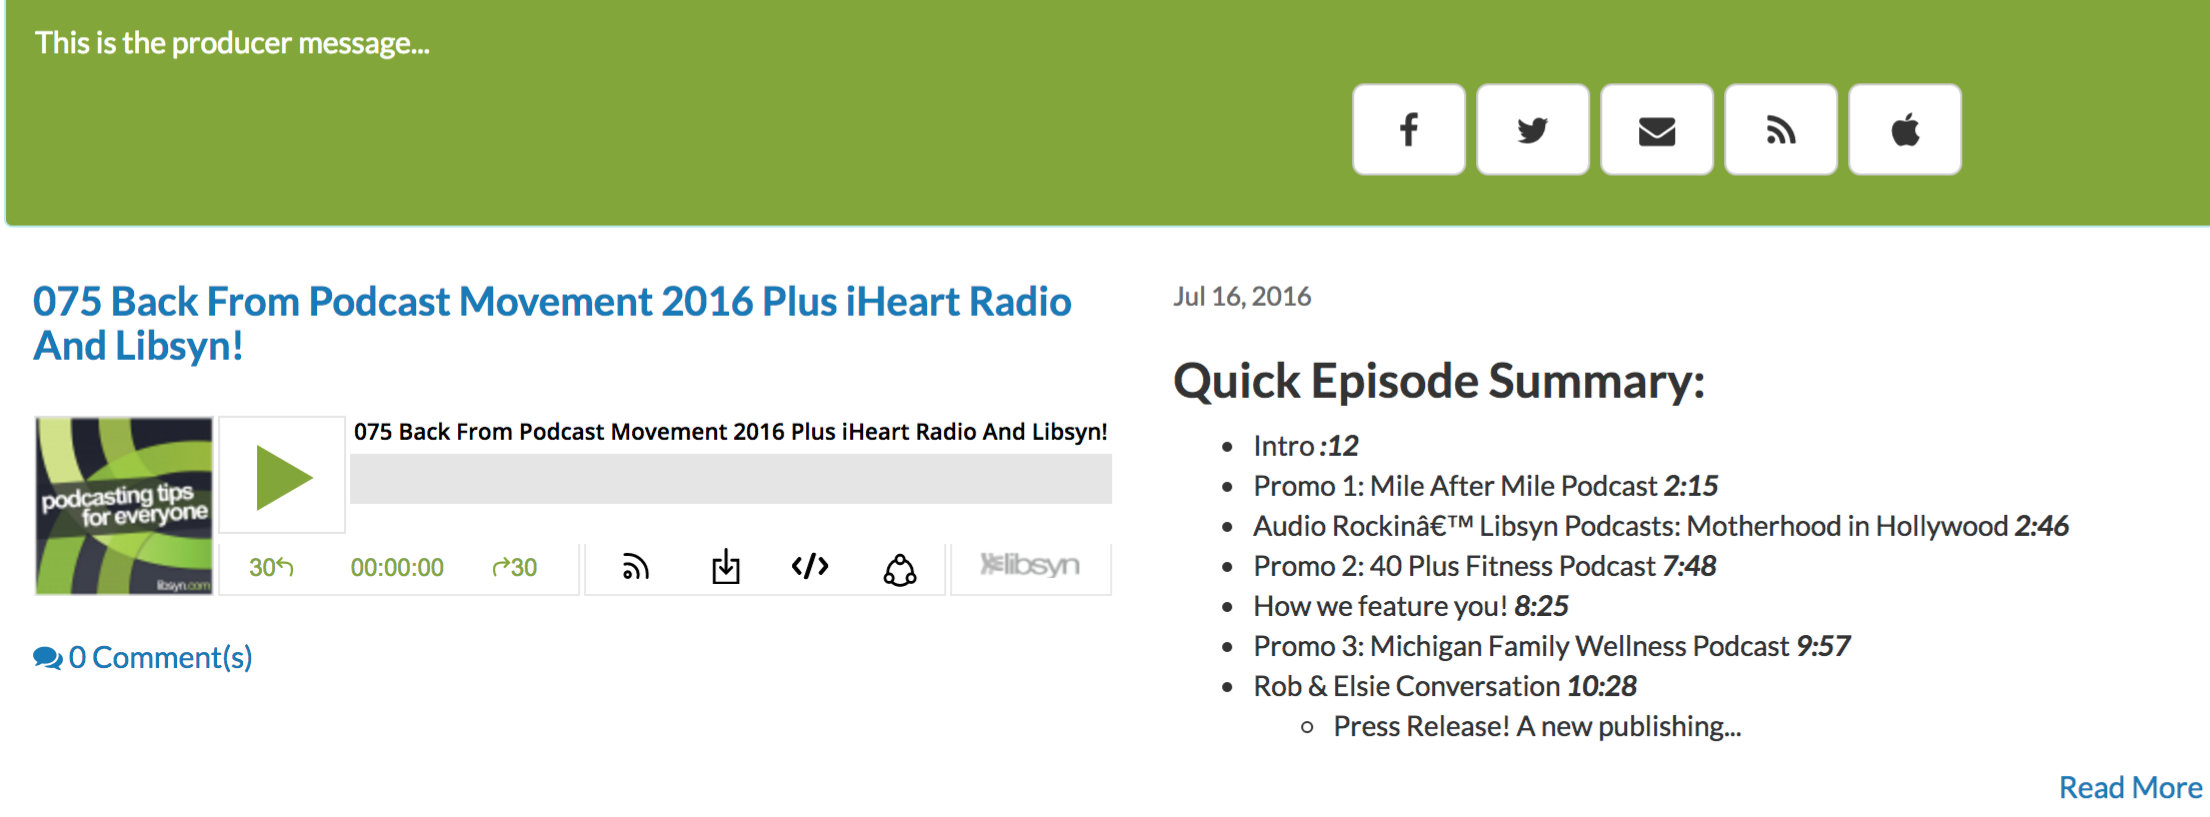
Above, the player is positioned to 'top' with no widgets enabled, shown on the home page.
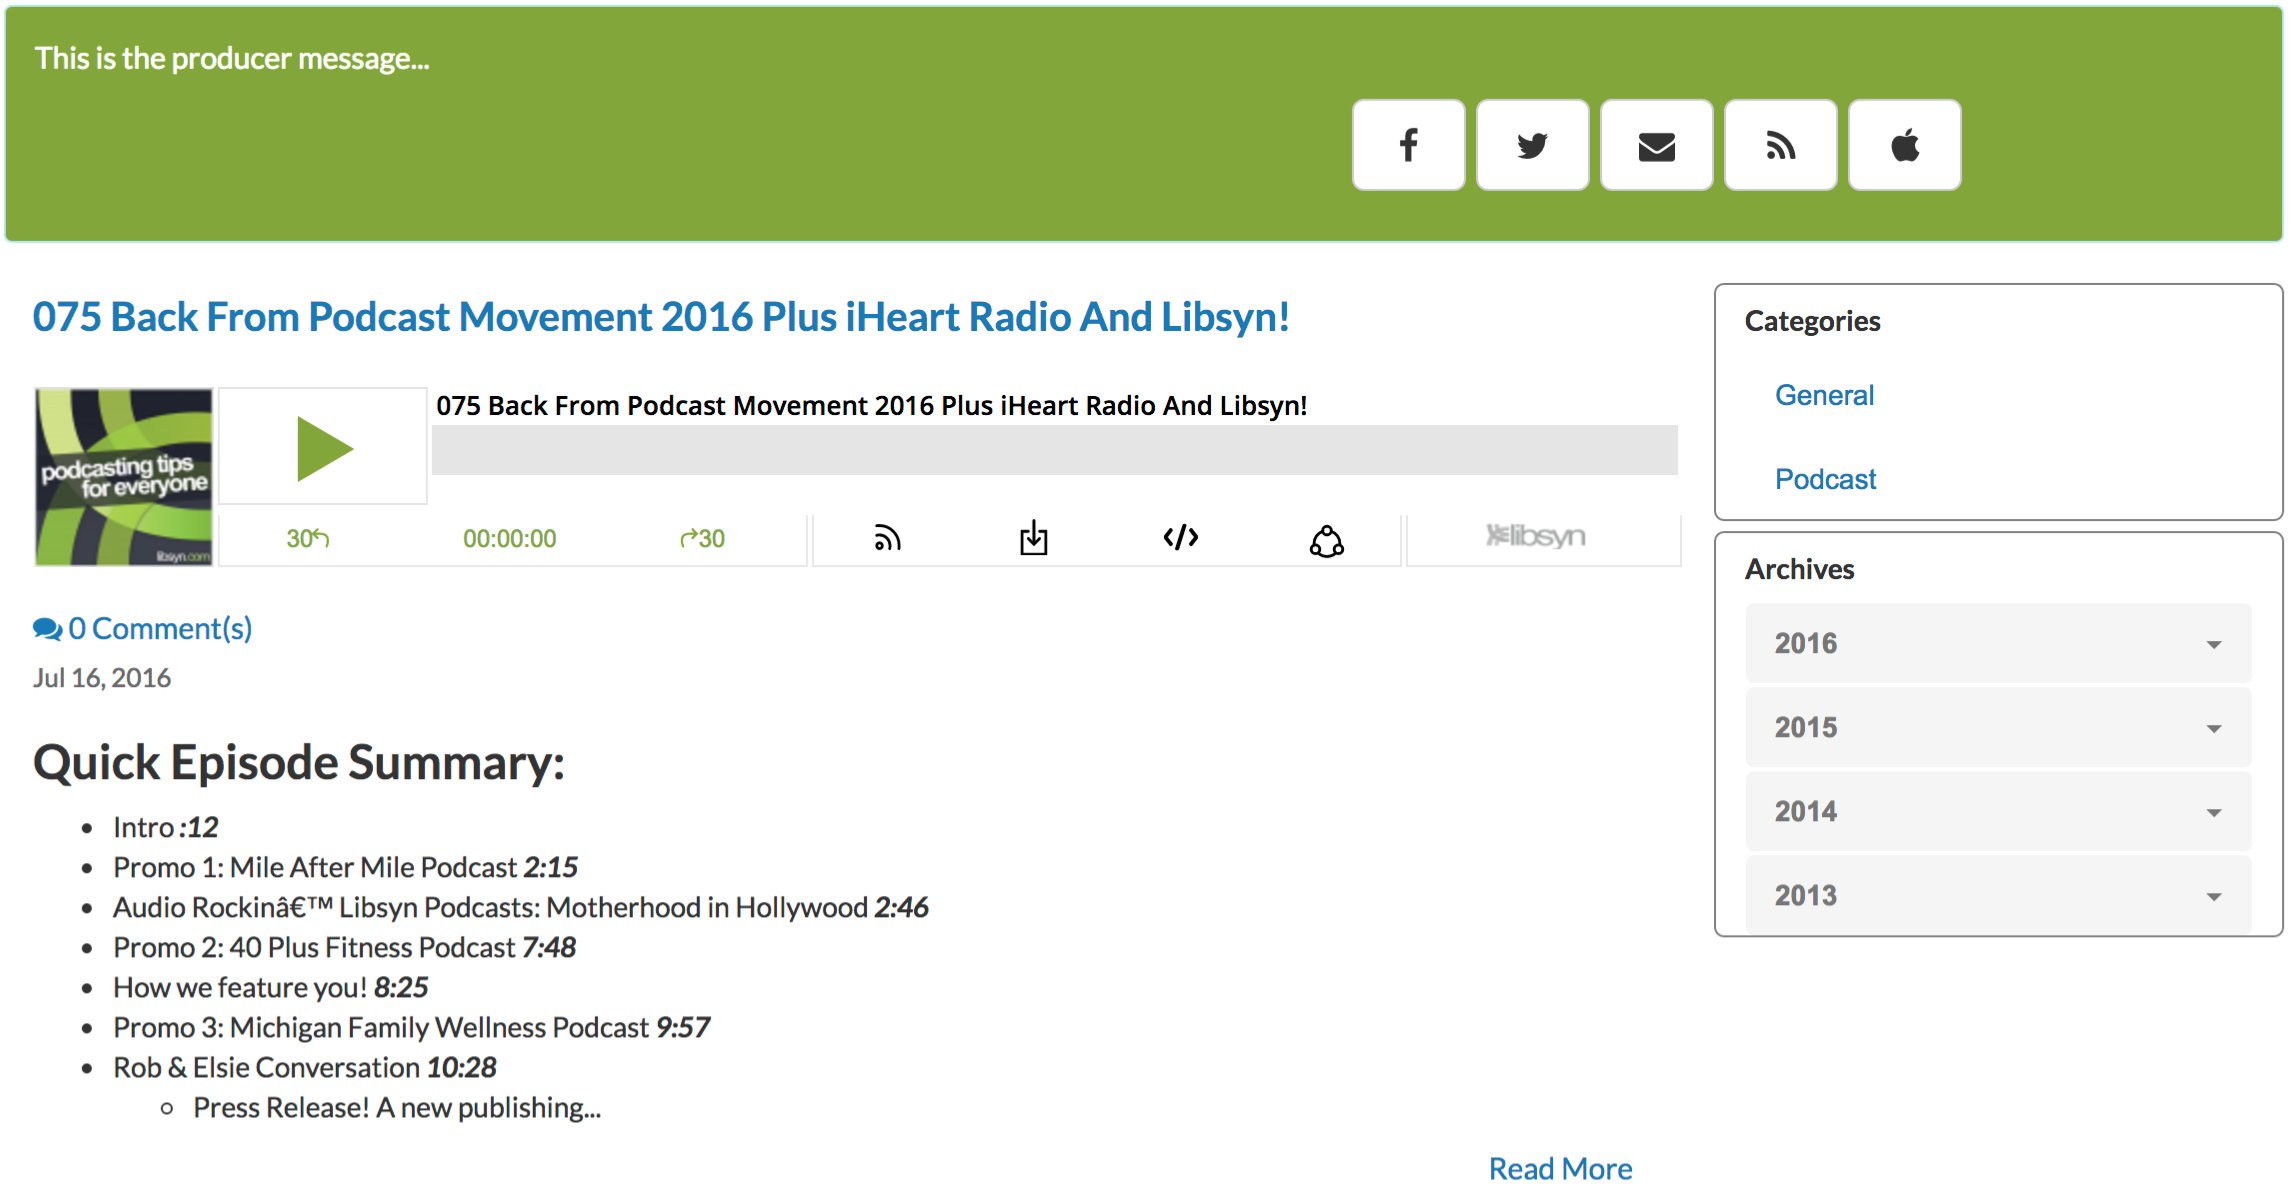
In the next above example, the player is positioned to top and it appears above the summary. Widgets are enabled here.
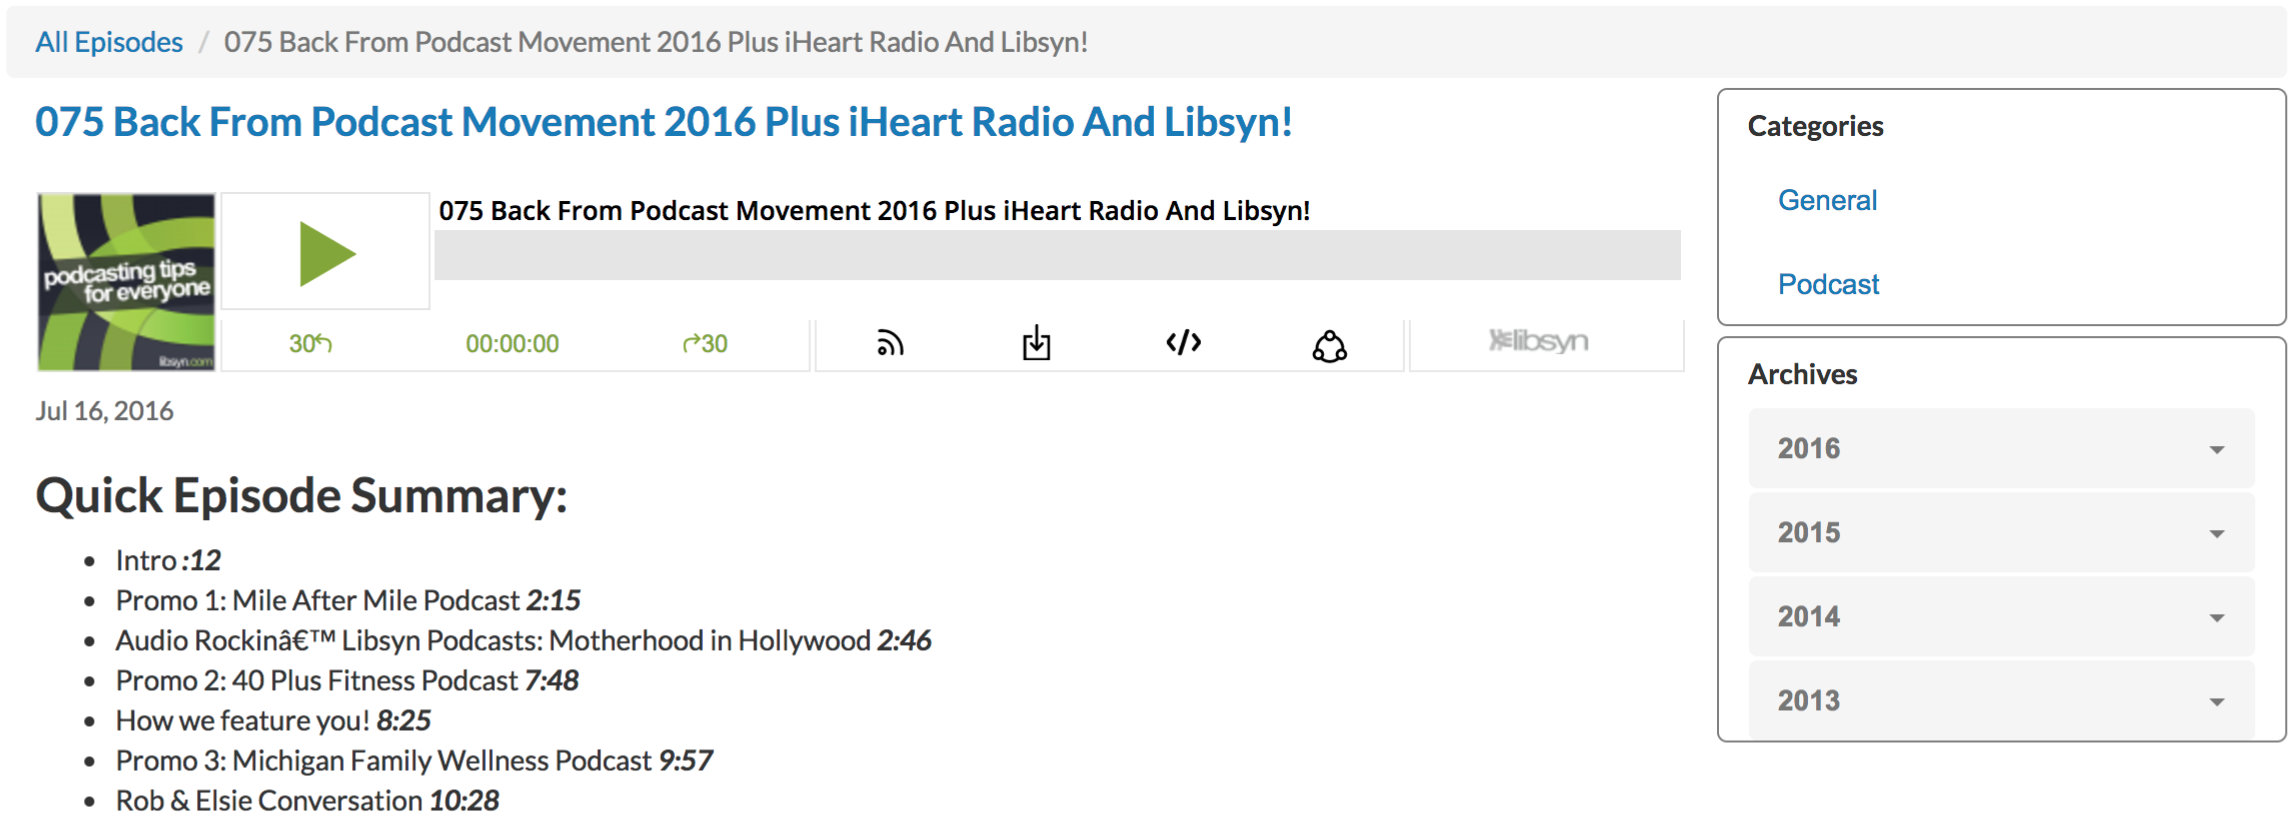
On the Post Page - The player will appear on the top as shown below regardless of if widgets are enabled or not.
Bottom
On the Home Page - The player will appear to the right of the episode summary if no widgets are enabled on the page (see below for widget details) and on the top of the summary if widgets are enabled.
Above, the player is set to be at the bottom, without widgets enabled.
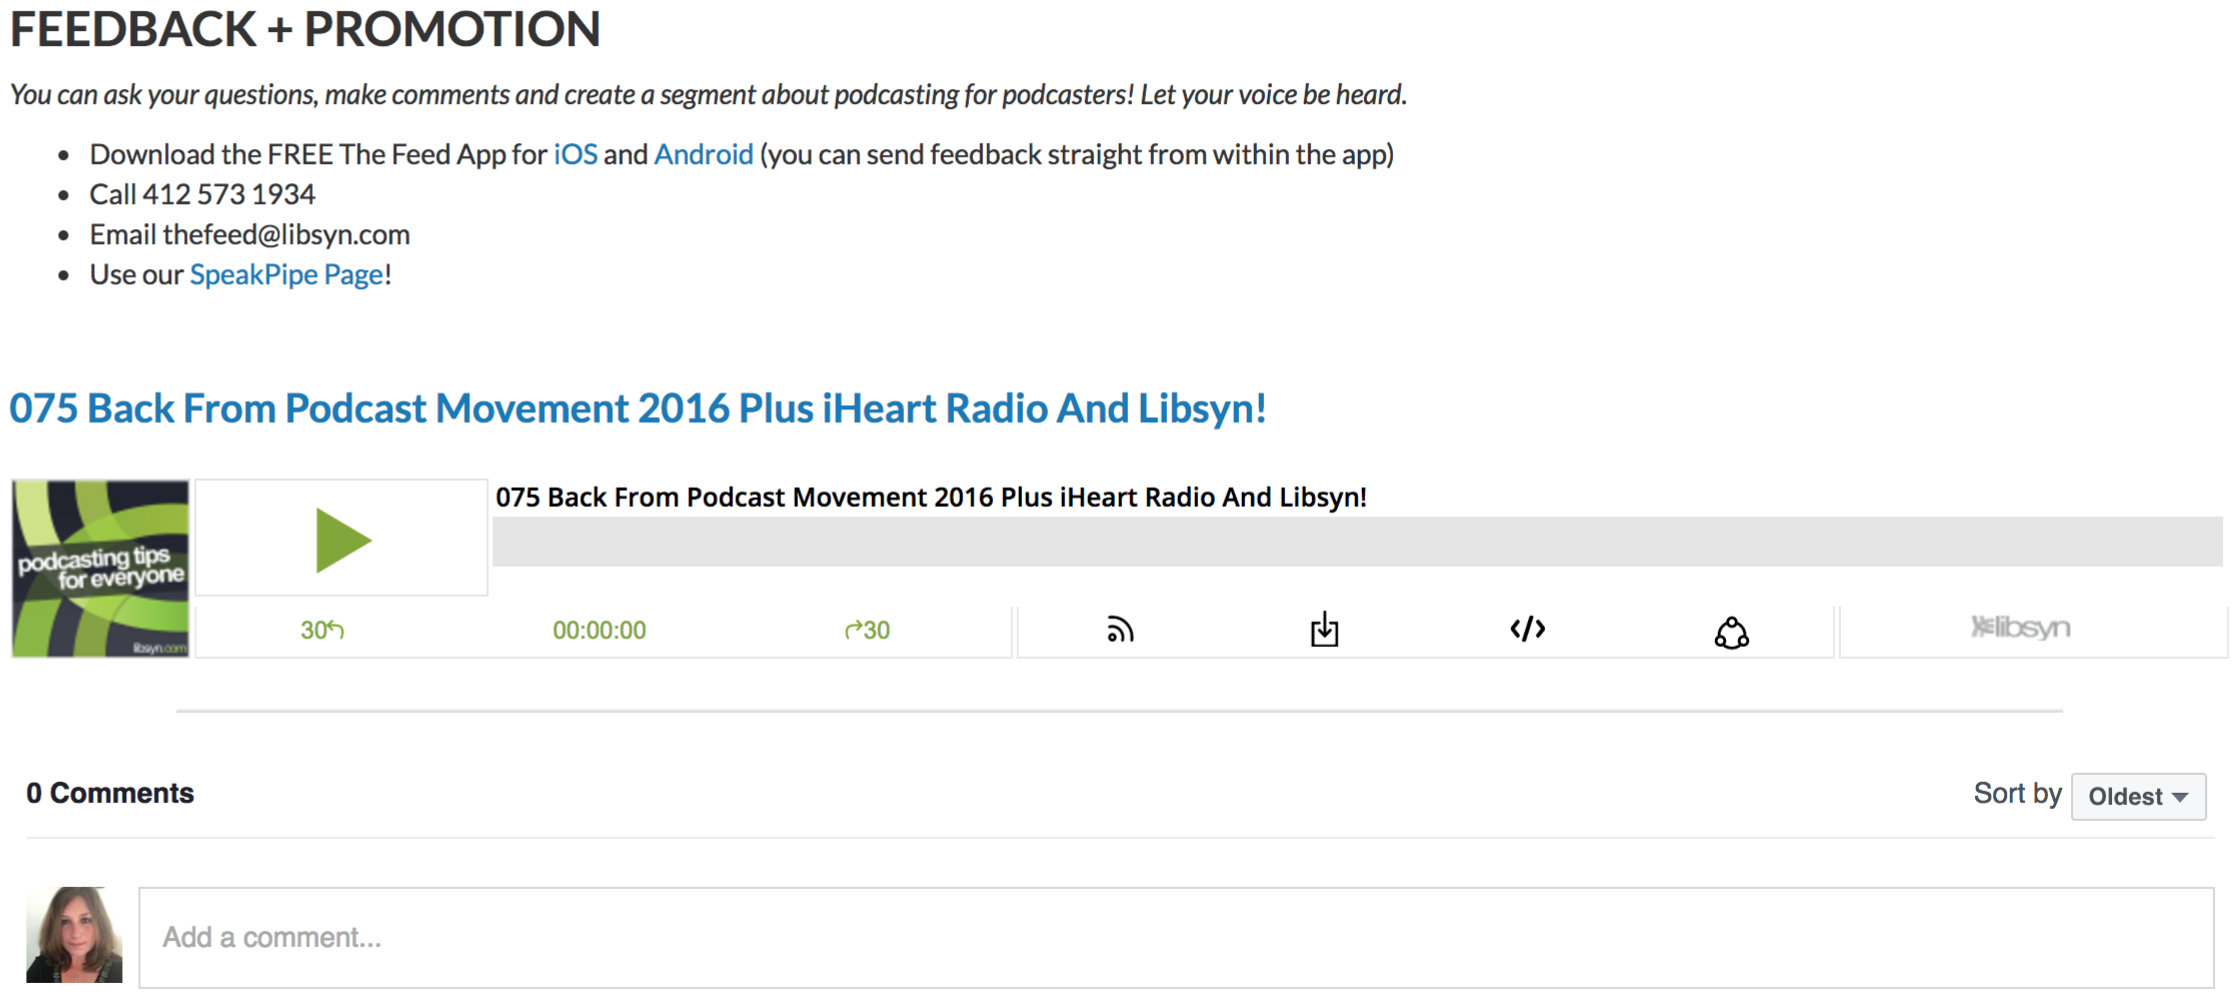
On the Post Page - The player will appear at the bottom of the post, above the comments section.
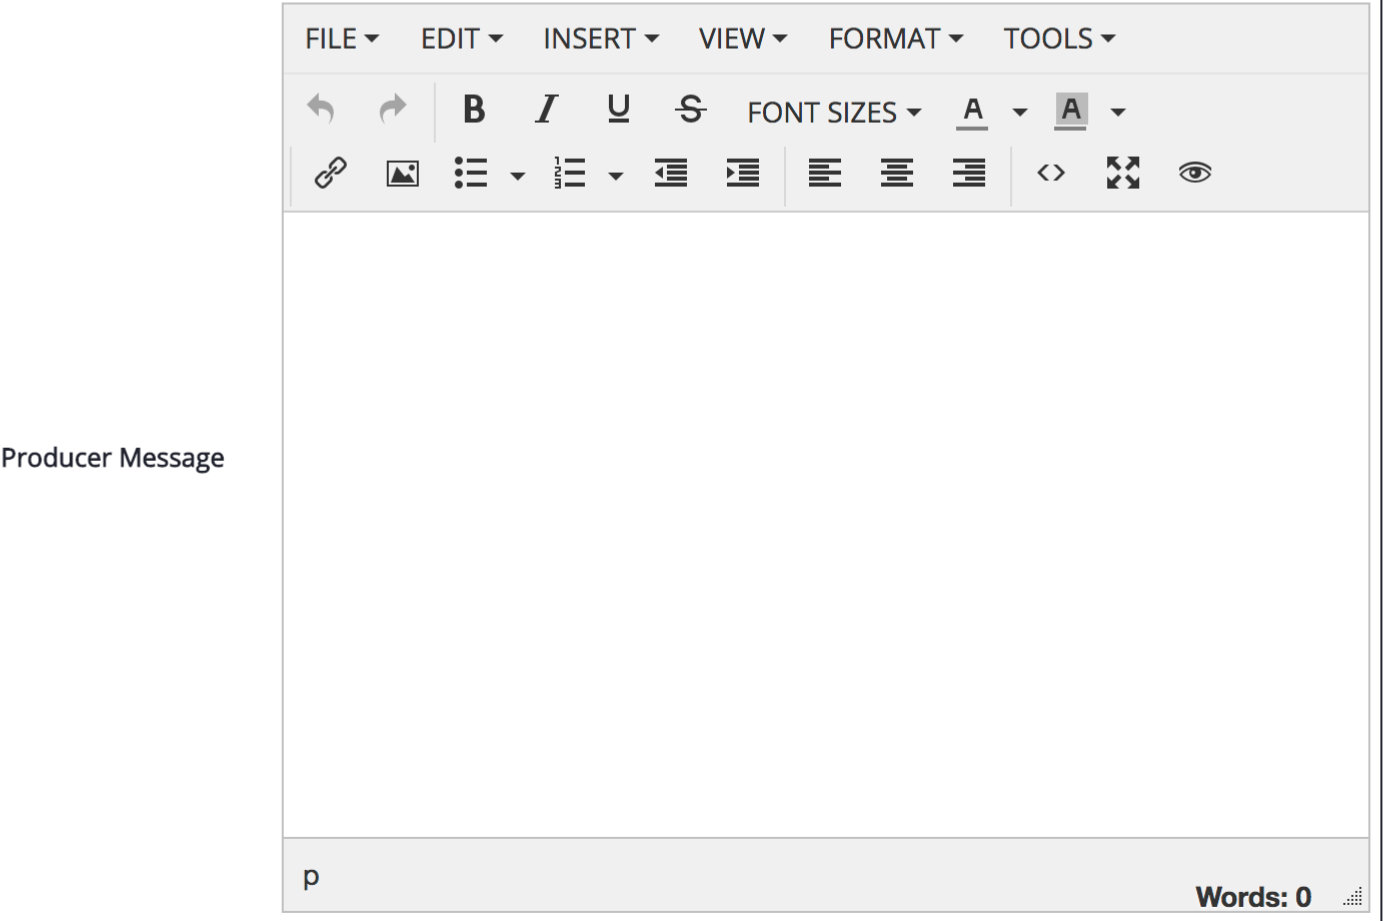
Producer Message
A producer message can be added to the page which will appear on post pages and the home page. This message can say whatever you want it to say and can include anything the editor allows you to add (links, images, etc).

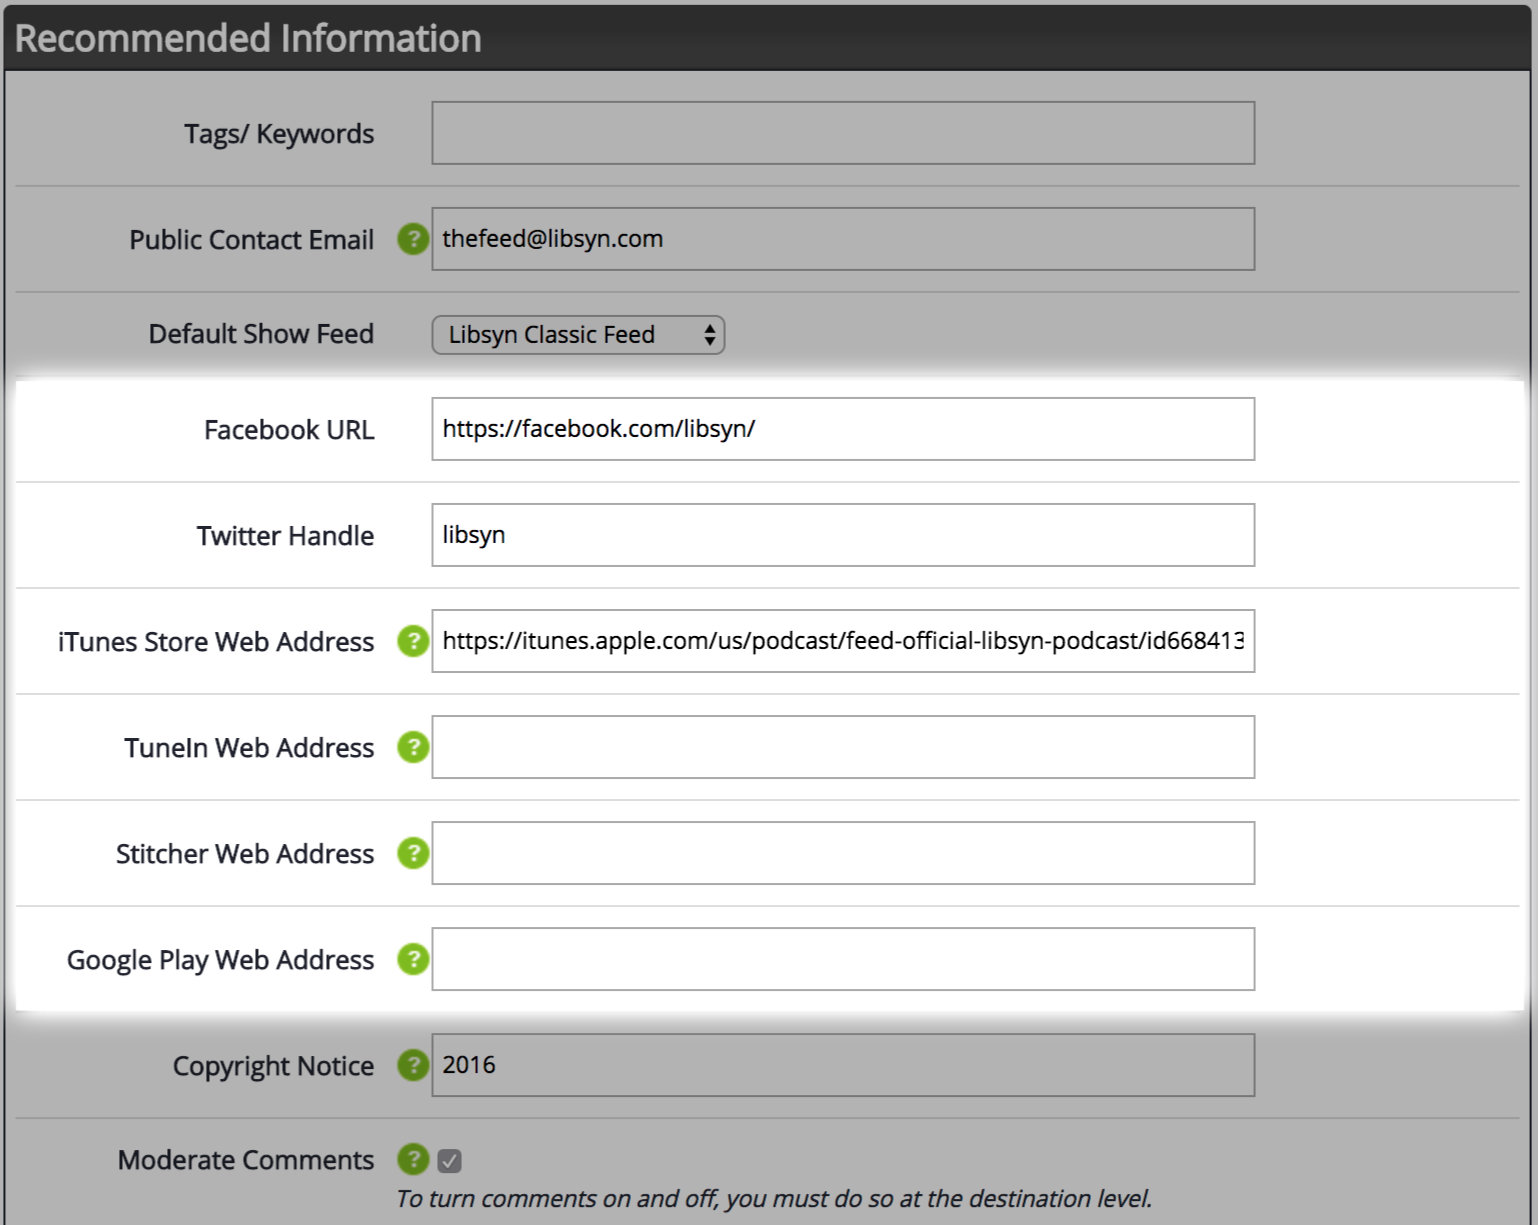
Pro Tip: The social buttons that appear in the producer message bar will populate when URLs to those services are entered under Settings --> Show Settings:
Additional Page Settings
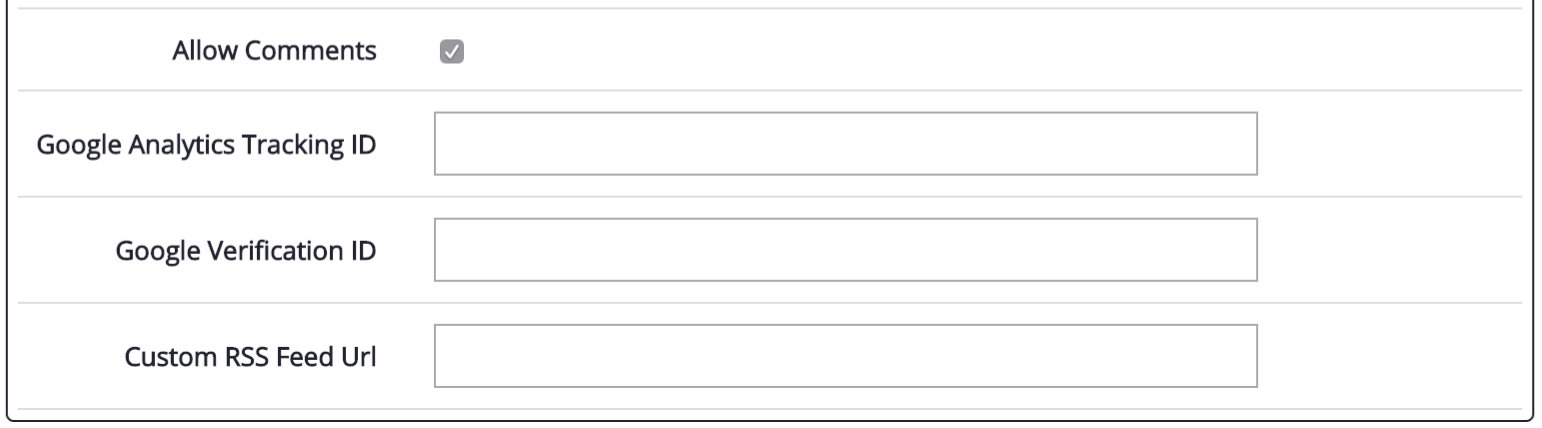
Allow Comments
The podcast page utilizes Facebook Comments to allow for comments and discussion on the page. Check this box to enable or disable the Facebook Comments functionality.
Google Analytics Tracking ID
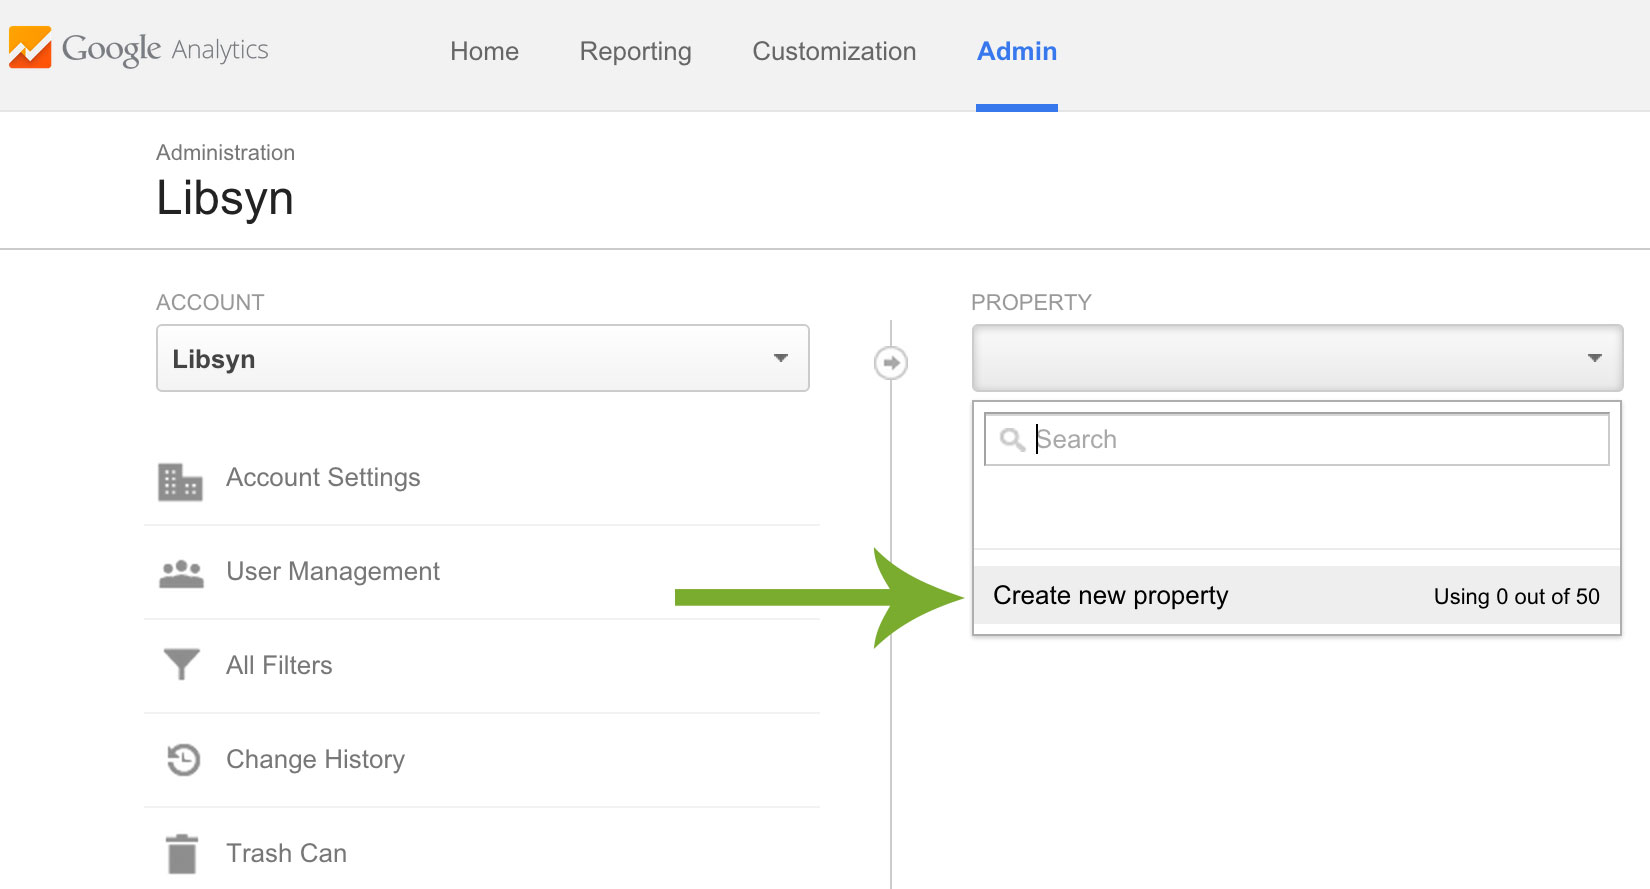
The podcast page supports adding your Google Analytics tracking code so that you can track your visits and visitors on your page. To start, you will need to log into your Google Account and access Google Analytics here. Once logged in, you will need to create a new property.
A page will appear asking for your site's details:
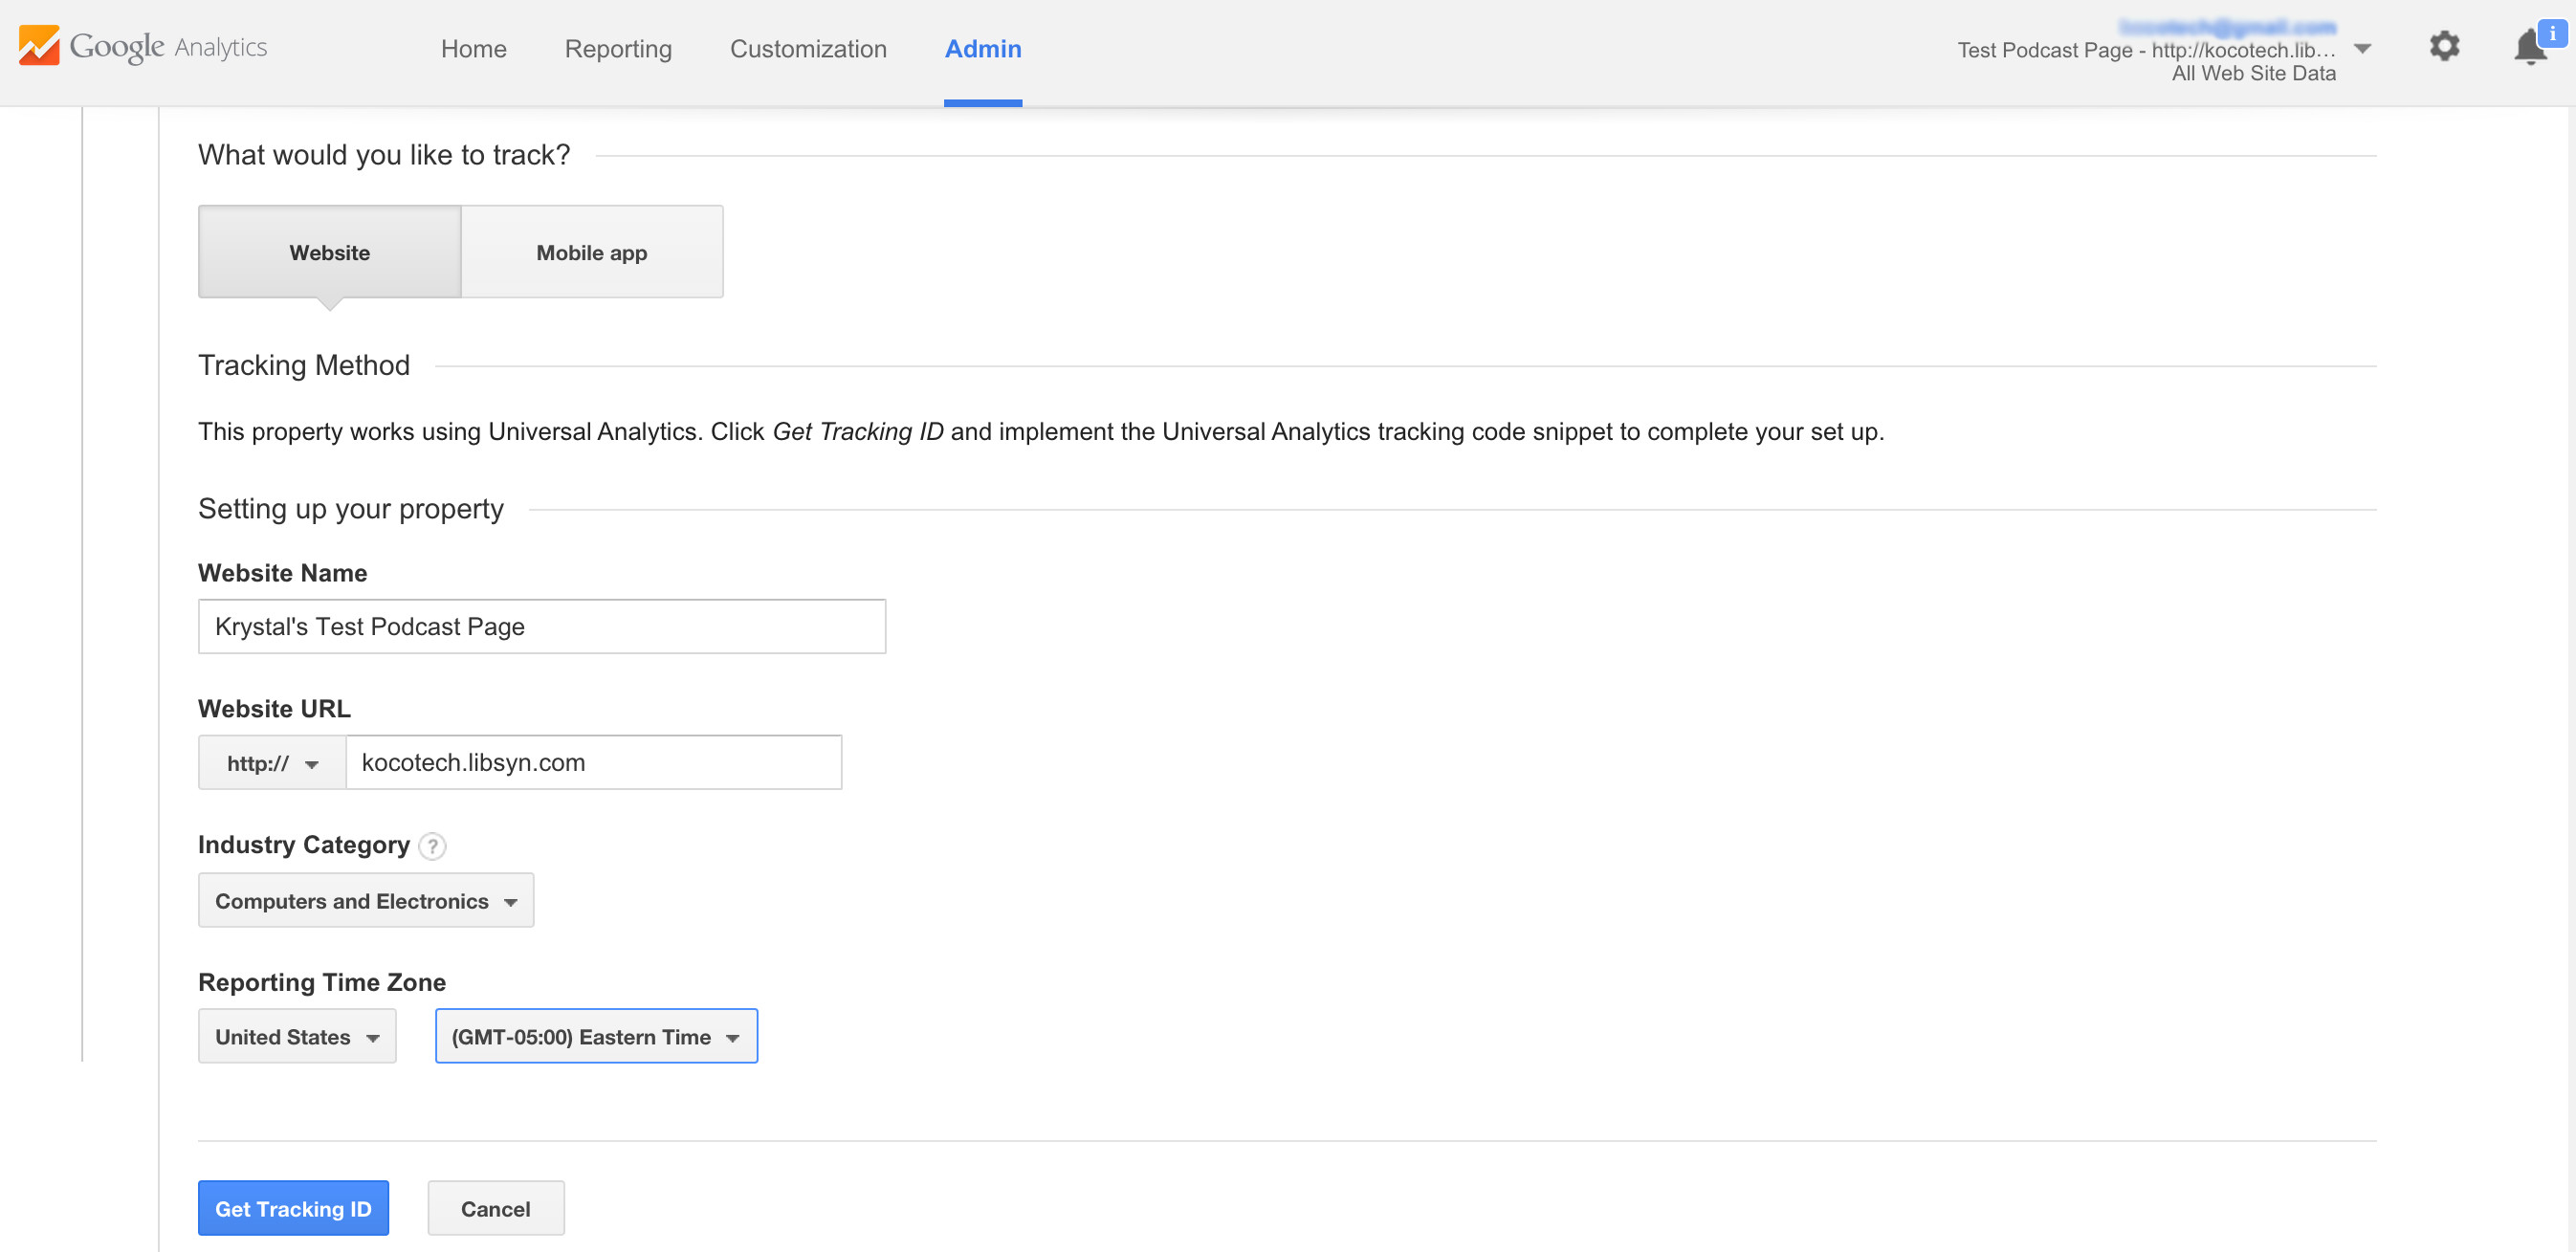
Tell Google that you are tracking a Website, enter a name for the site (this is for your usage), enter your website URL (the URL to your podcast page), select a category for the industry your site falls under, and provide a time zone. Then hit Get Tracking ID.
You will be taken back to the admin page for that account/property. Hit Tracking Code.
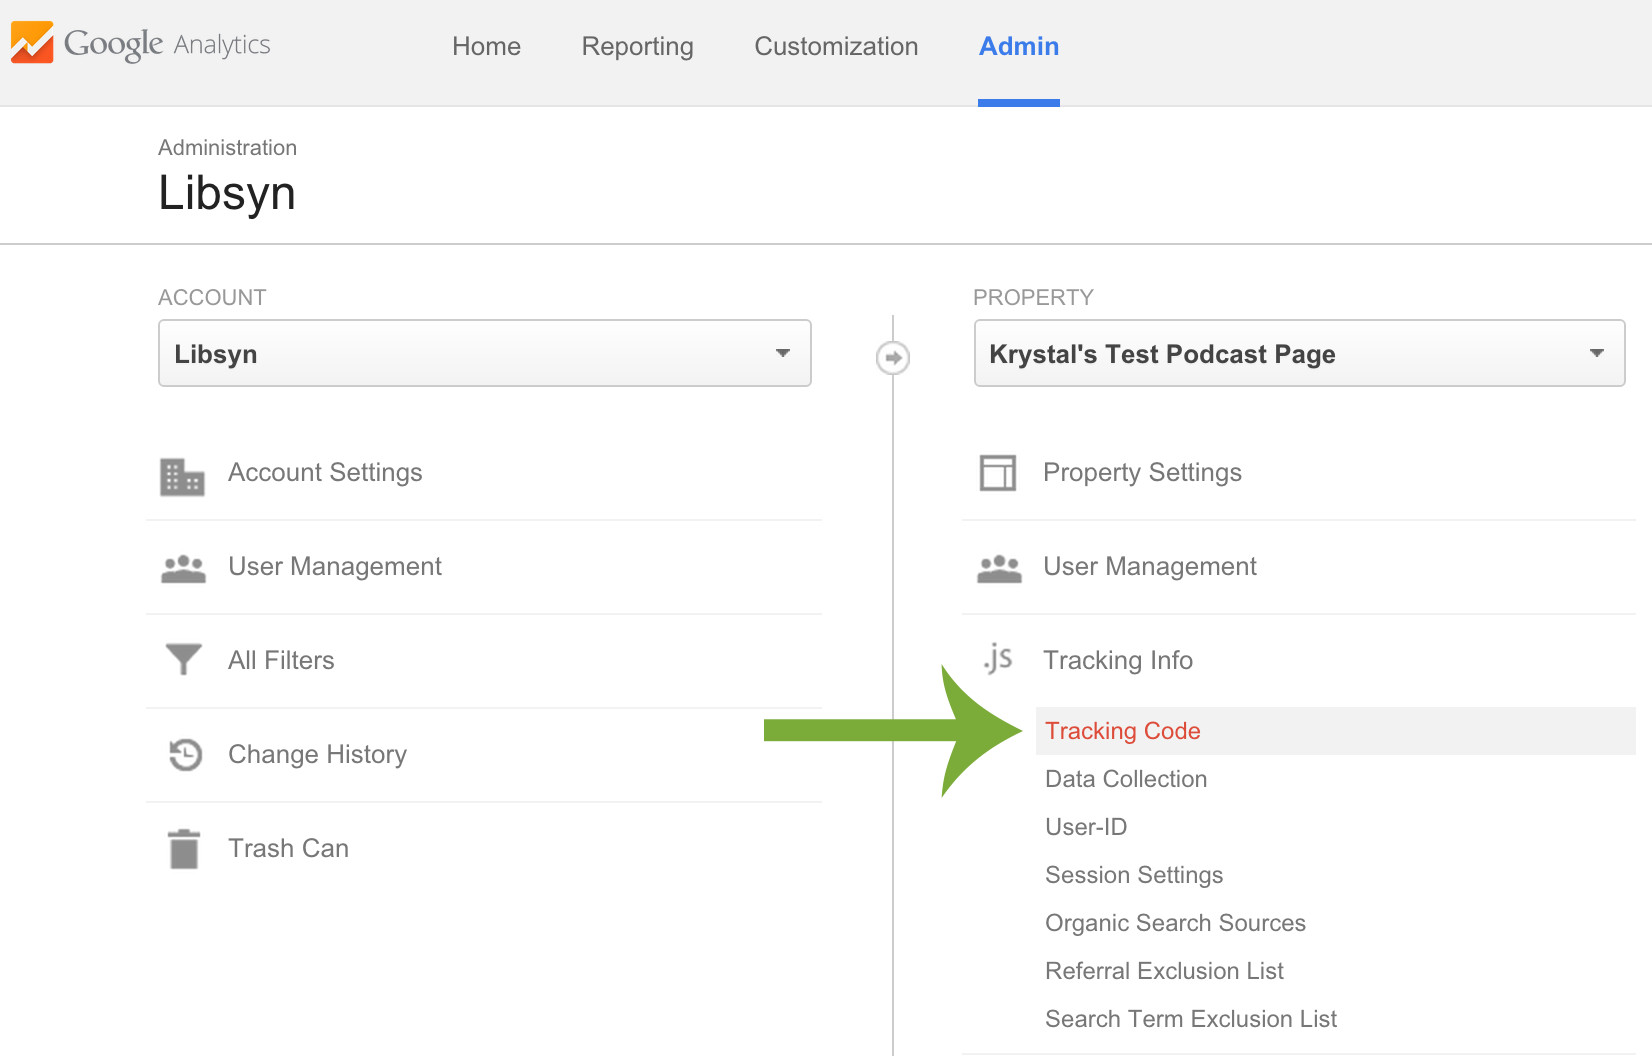
This page will provide you with your tracking ID.
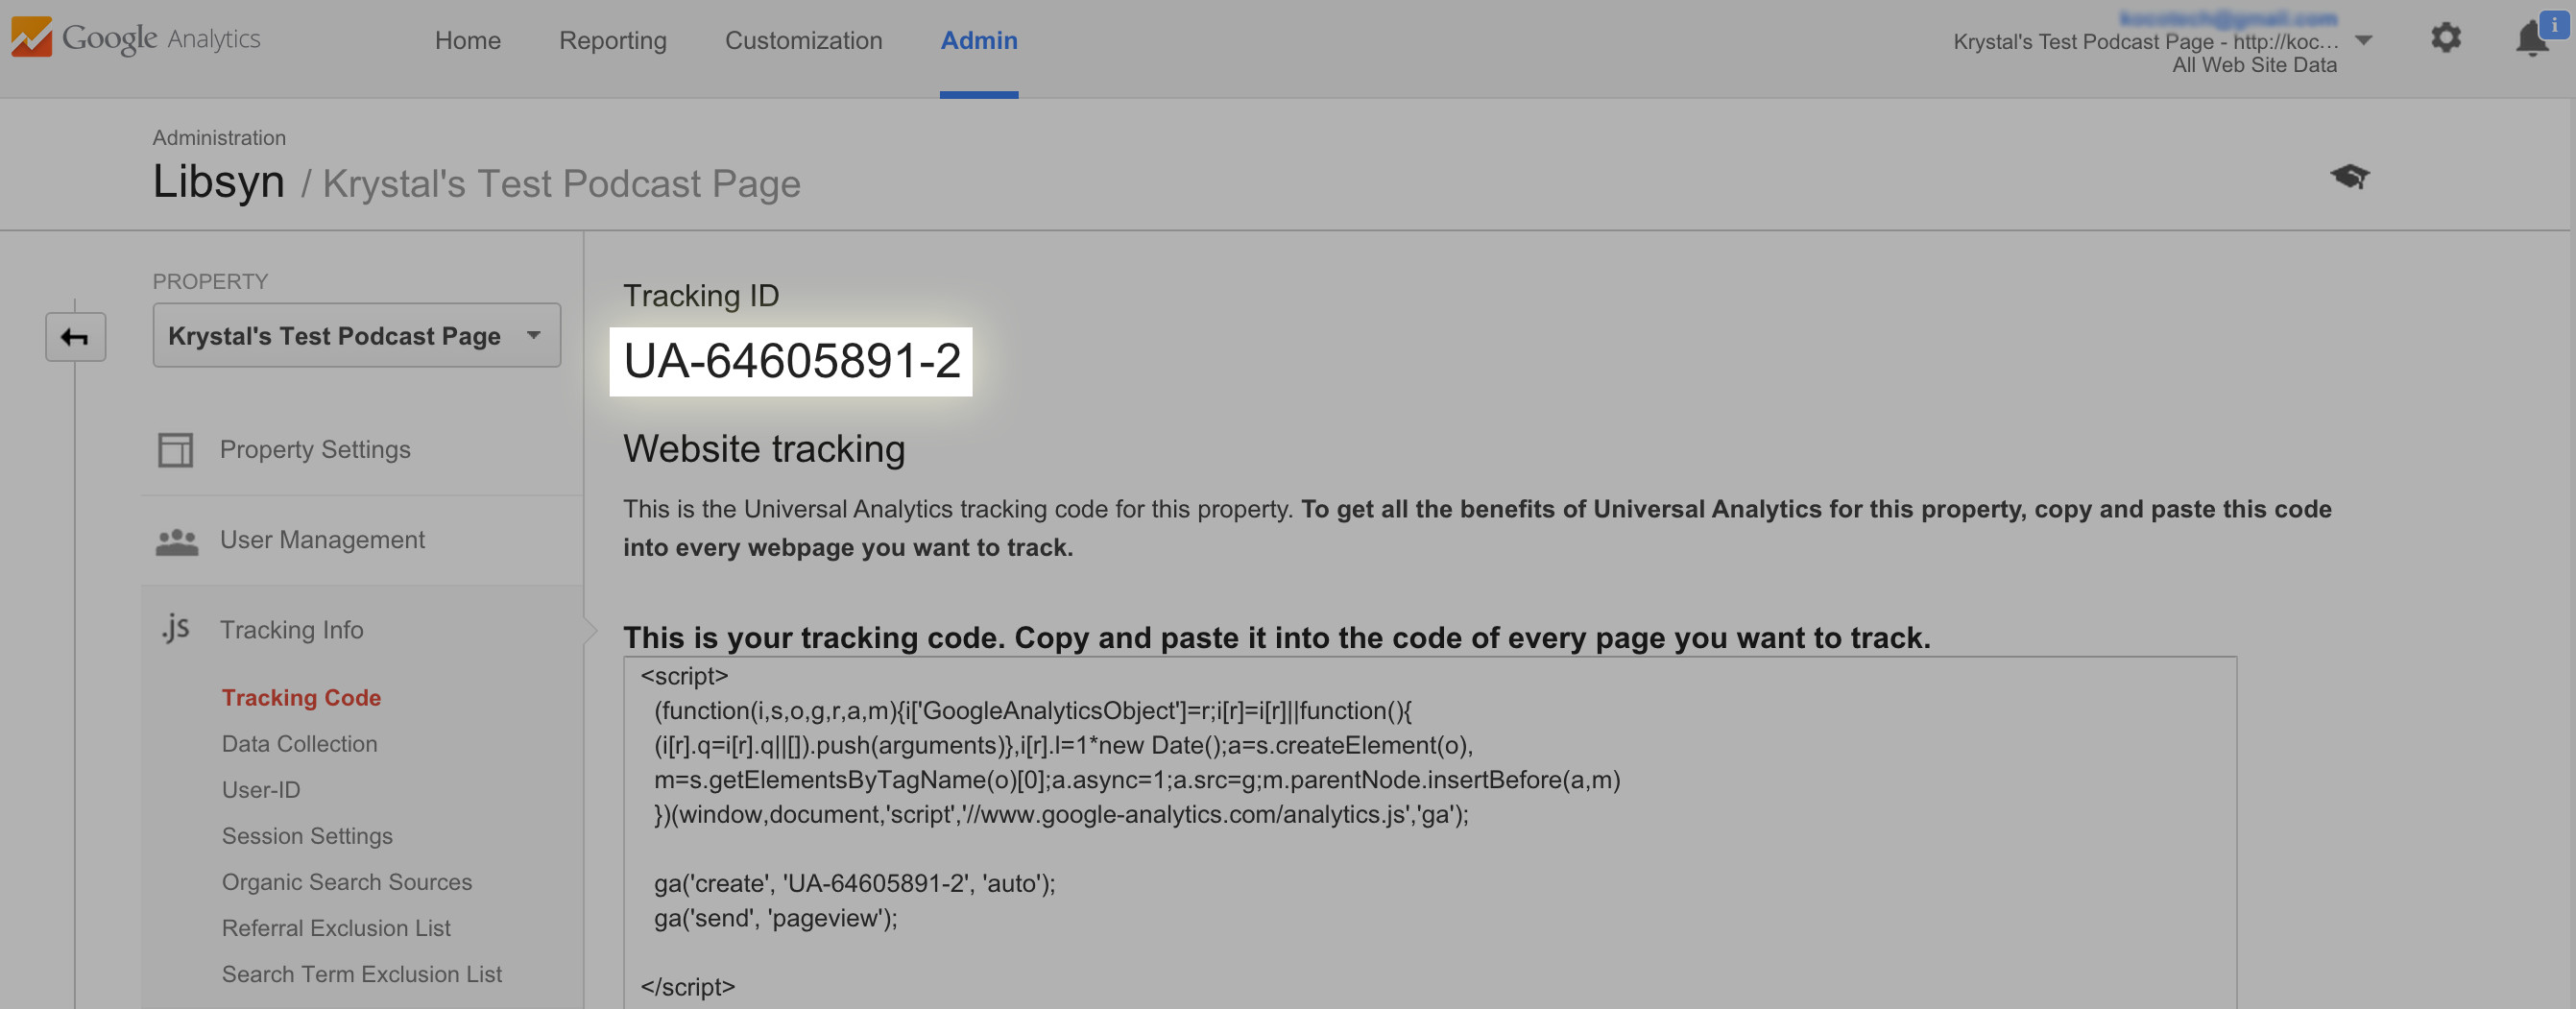
That tracking ID is what gets pasted into this field.
Google Verification ID
The podcast page supports adding your Google verification key so that you can utilize your custom domain and/or your site via Google Webmaster Tools.
To start, you will need to log into your Google Account and access Google Webmaster Tools here. Once logged in, you will need to create a new property. Enter your Podcast Page URL and you will be asked to verify ownership.
Select Alternate Method --> HTML Tag.
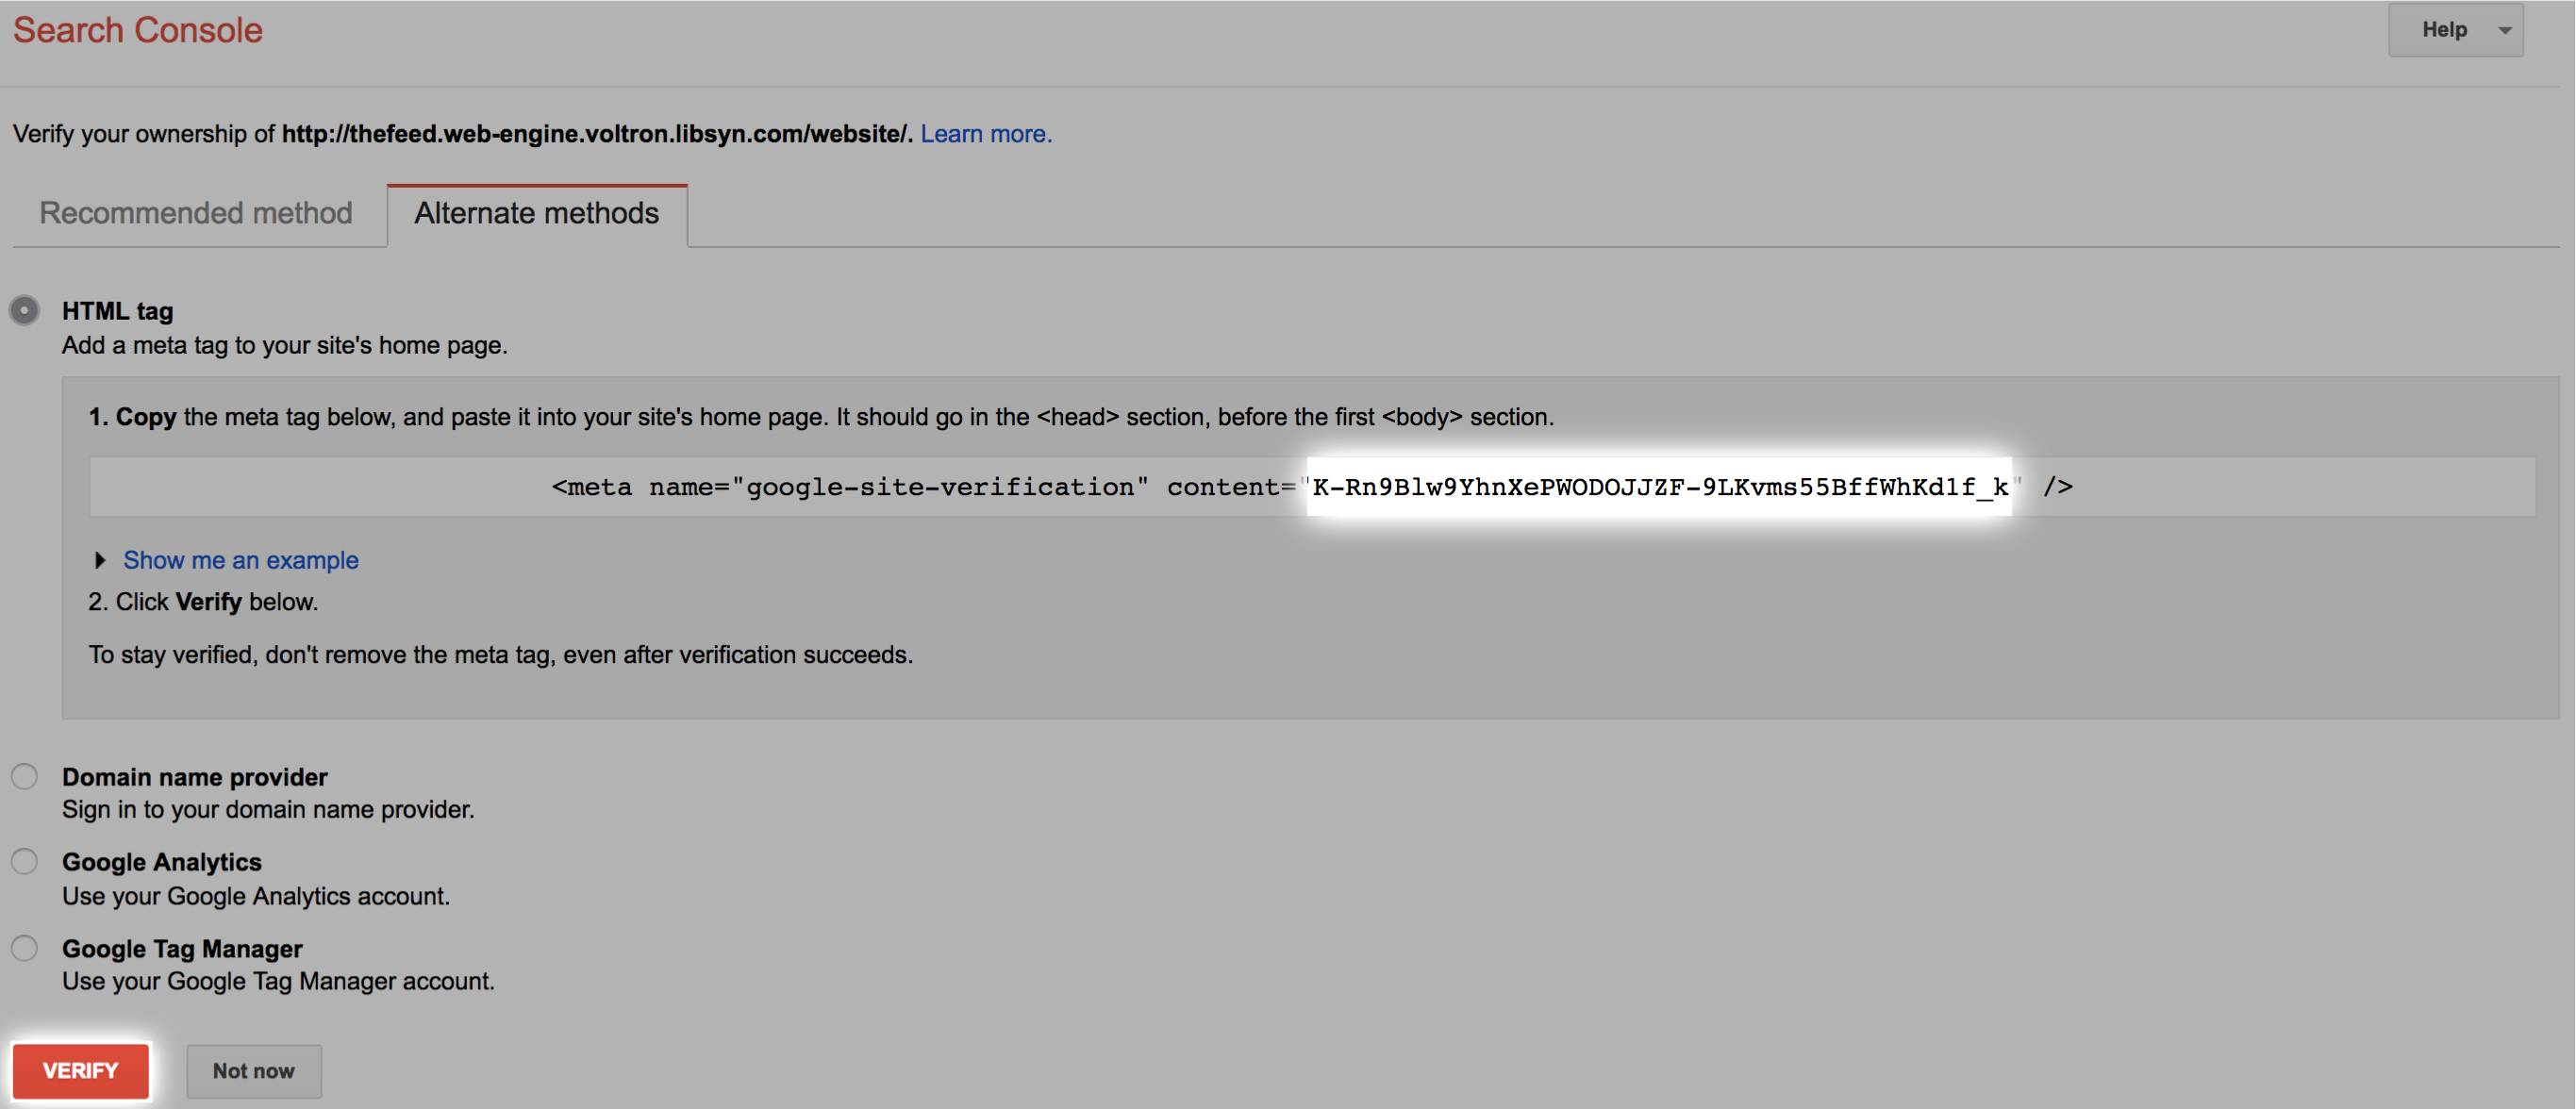
Copy the key found in your meta tag (right after "content=").
Paste that key into the Google Verification ID text box. Once you save your Podcast Page settings, click the red Verify button seen above and your ownership will be verified and you will be able to control your site's behavior in Google using Webmaster Tools.
Hit Save to save your Podcast Page changes thus far.
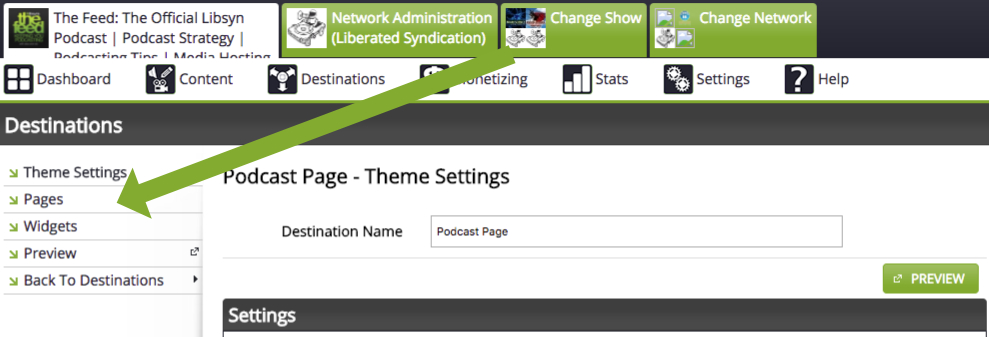
Adding Pages
There are three specific pages that can be added to your site including About, Blog, and Contact. To access and configure these pages, select Pages in the Podcast Page destination.
About Page
The about page gives you an opportunity to tell your audience who you are, what your show is about, anything you would normally put on an about page can be added here.
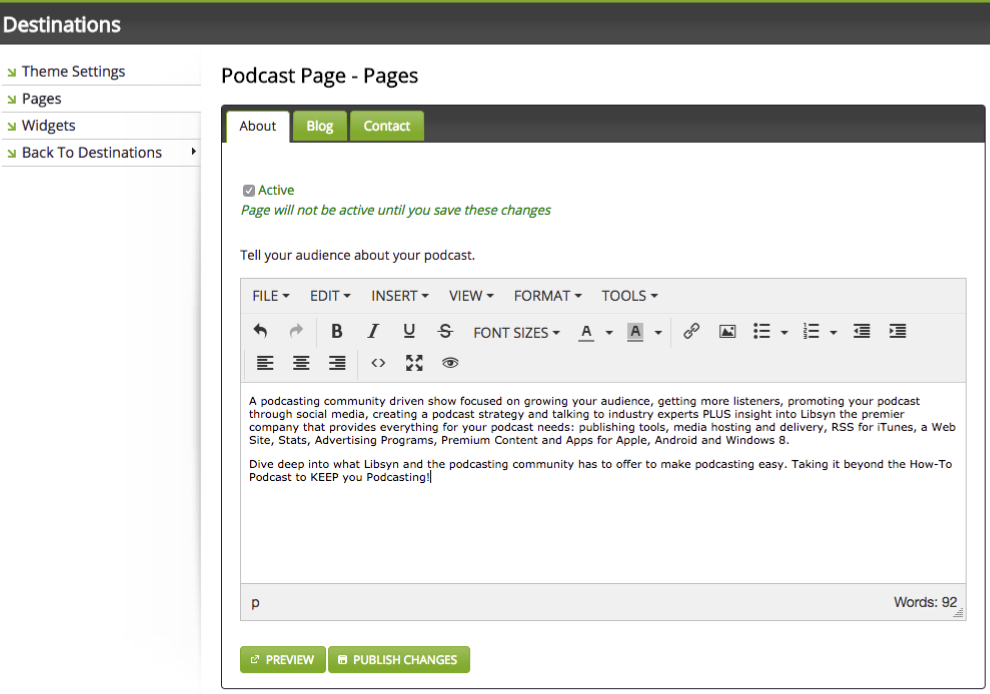
Check the Active button to enable the page, then use the provided editor to generate the content for the page. Anything from links to images and text formatting can be added to jazz up the page.
Once you are happy with the page, hit Publish Changes.
Blog Page
The page is automatically generated to include only text posts (no posts with media will be included on this page).
Check the Active button to enable the page.
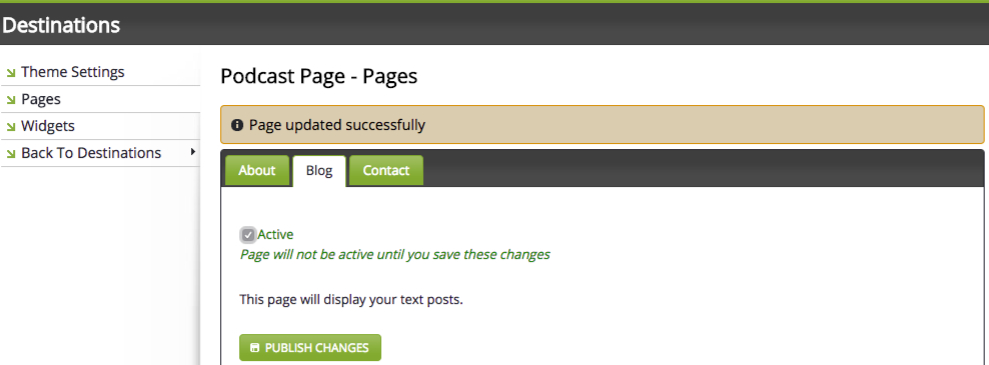
Hit Publish Changes to save the page and set it live.
Contact Page
The contact page will generate a basic contact form allowing your audience to contact you by e-mail. The form is automatically generated.
Check the Active button to enable the page. Enter the e-mail address you want messages to be sent to, and enter a message to your audience that will appear above the contact form.
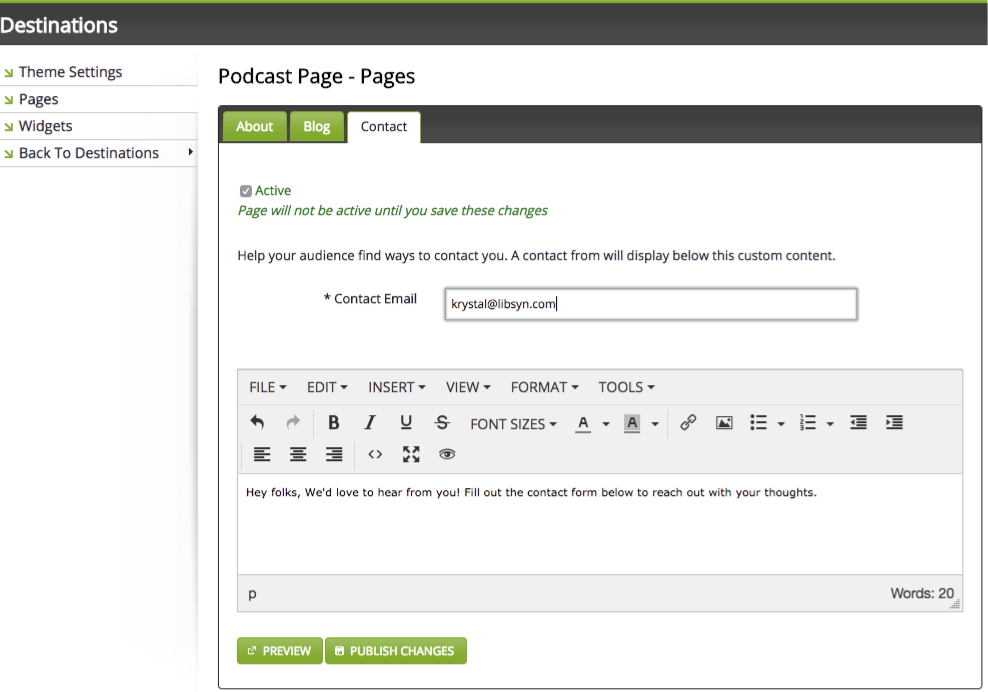
Hit Publish Changes to save the page and set it live.
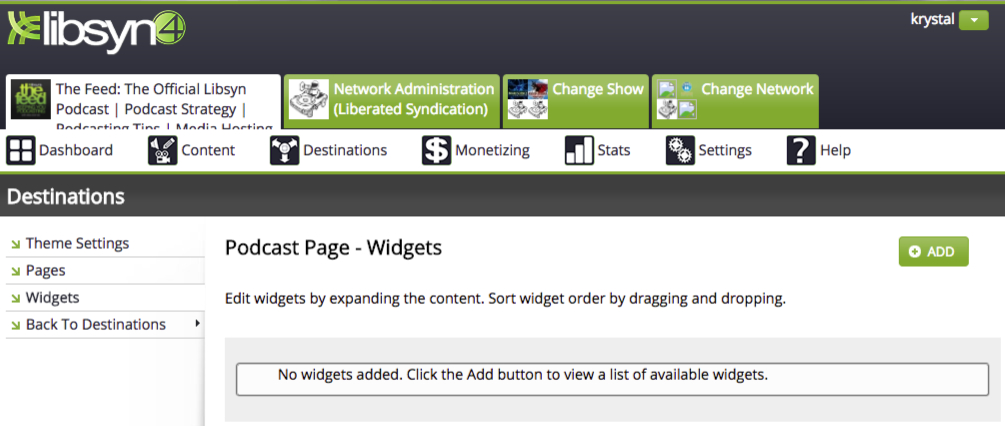
Working with Widgets
Your Podcast Page supports widgets which will appear in a right hand sidebar. There are a number of widgets available, including Categories, Archives, Facebook, Twitter, and HTML. A login widget is available for those utilizing our MyLibsyn system.
To get started adding Widgets, click Widgets on the left hand side, then hit Add.
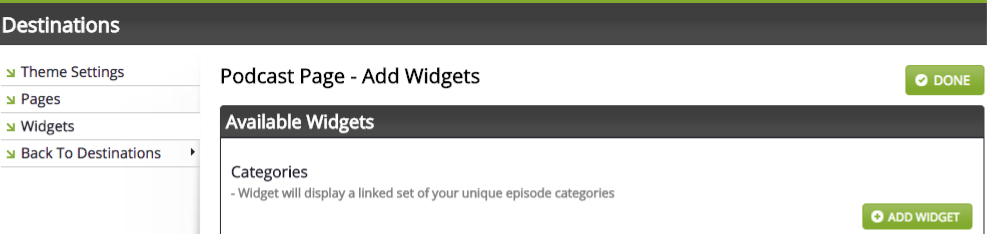
Categories
The categories widget will display a list of the categories you've associated with your show, making it easy for your audience to filter down to the categories they are interested in. Hit Add Widget to add the Categories widget.
Archives
The archives widget will display a list of years that then breaks down by month, allowing your audience to filter out posts based on a specific time.

The Facebook Widget provides an outline of the latest posts and allows anyone already logged into Facebook to 'like' your page. Note: This widget only works for public pages, not for personal timelines.
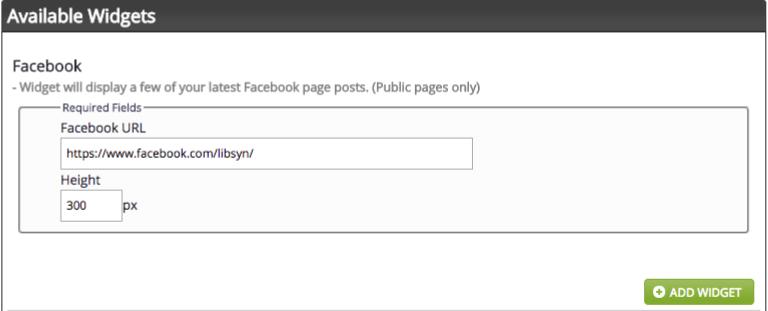
Enter the full URL to your public Facebook Page. The widget height can also be configured.
The Twitter Widget provides a stream of your latest tweets. Anyone currently logged into Twitter can like or share the tweet straight from the widget.
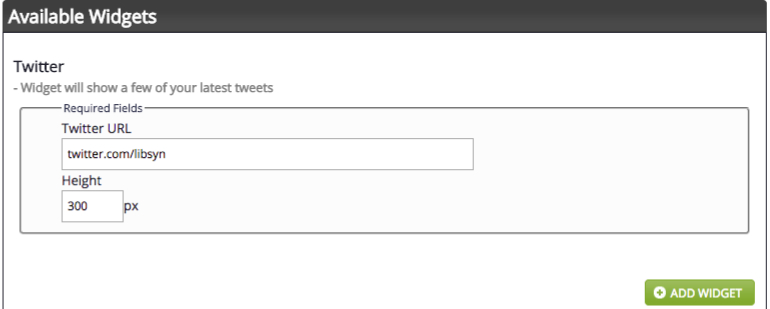
Enter the URL to your Twitter profile. The height of the widget can also be adjusted here.
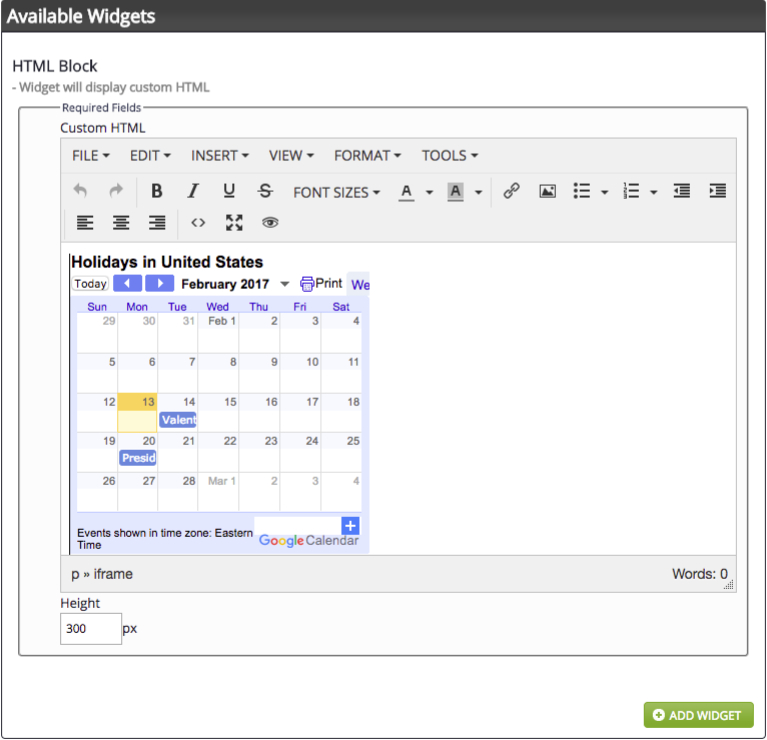
HTML
The HTML Widget allows you to place anything the editor allows into the widget, including formatted text, links, images, and HTML code for items such as calendars or buttons.
Once you have added and configured your widgets, hit Done.
Getting Additional Help
Have questions? Contact our support staff at support@libsyn.com.